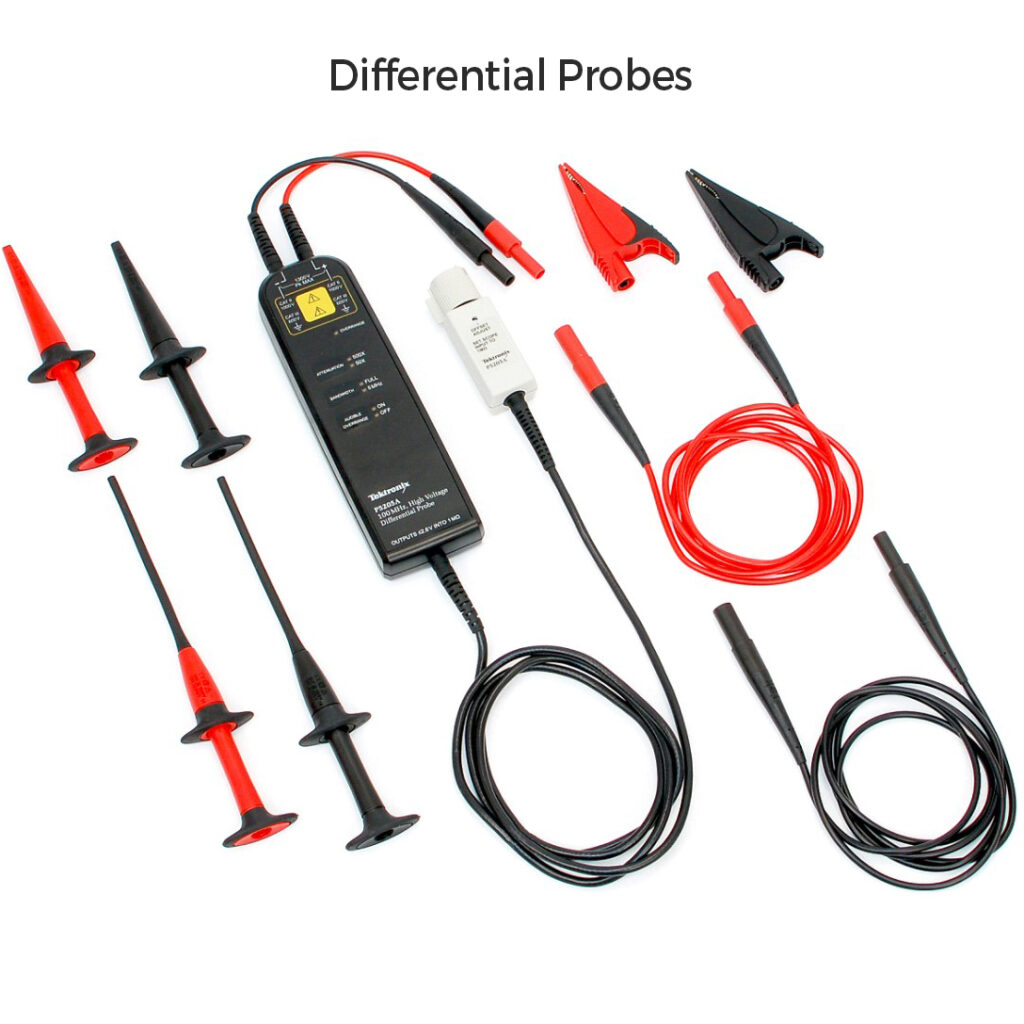
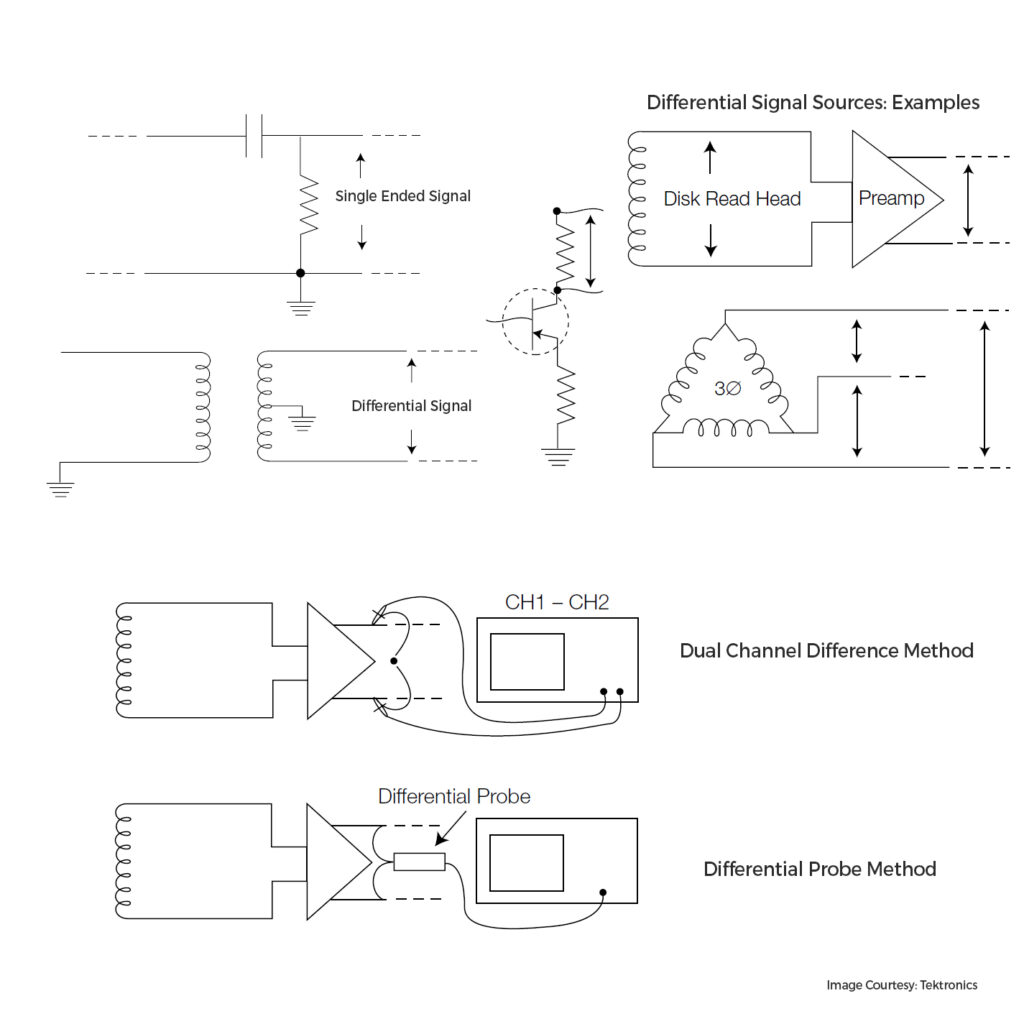
We can’t close this series on scopes till we discuss the current probes. For measuring current waveforms there are two main methods, one is adding a small resistor in series in the current path and measuring the voltage diff across the resistor with a differential probe as we discussed last week. This method is cumbersome and you can’t always cut up a cable/track to add the resistor.
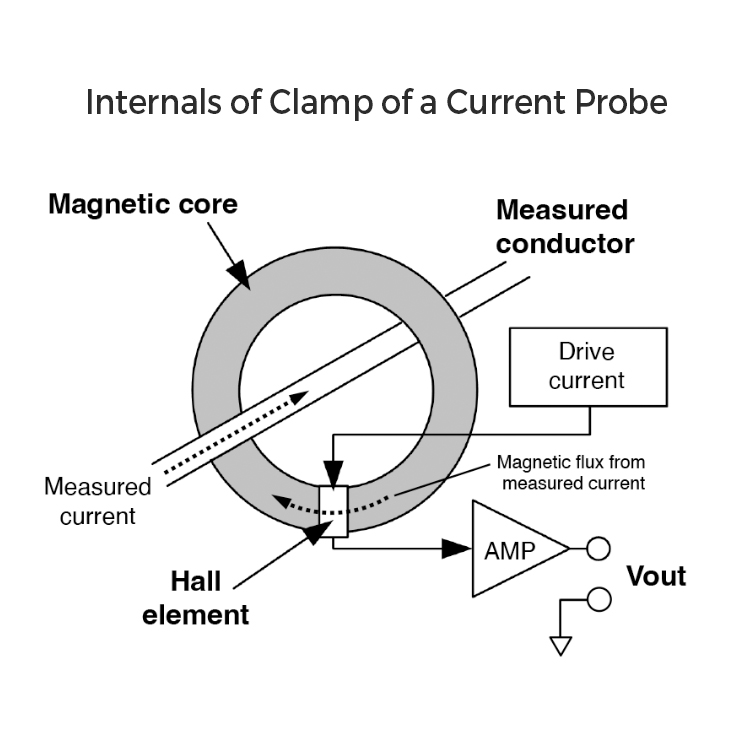
The other way is via Current Probes. A current probe consists of a magnetic core and/or a Hall effect sensor positioned within a clamp. Probe jaws are placed around the conductor you want to measure. Whenever there is a current flow, it induces a voltage in the magnetic core inside the probe. This voltage is directly proportional to the rate of change or derivative of the current enclosed by the loop formed by the probe jaws. To measure DC, you need a hall effect sensor on the core. Hence you see a split core design with it. The induced voltage is fed to an instrumentation amplifier/signal conditioner and fed to the input of the oscilloscope. The probes mention a voltage/Ampere rating with which you will be able to determine the current value on the scope. Select a probe with the appropriate sensitivity for your specific application to measure low signals accurately.
Personally, I use these clamps to measure coil currents in motors clamping around to fine-tune motor currents. It’s a lifesaver for me there.
Pro Tip: To increase sensitivity when measuring small currents, wrap multiple turns through the primary of a current probe.
Concluding the oscilloscope series! It’s been a journey. If you enjoy long post-series like this, drop a comment. Next week, we dive into a new topic!