Was in a bit of debate with a client last week about how CAT ratings apply to their multimeters. Thought I would clarify this topic properly.
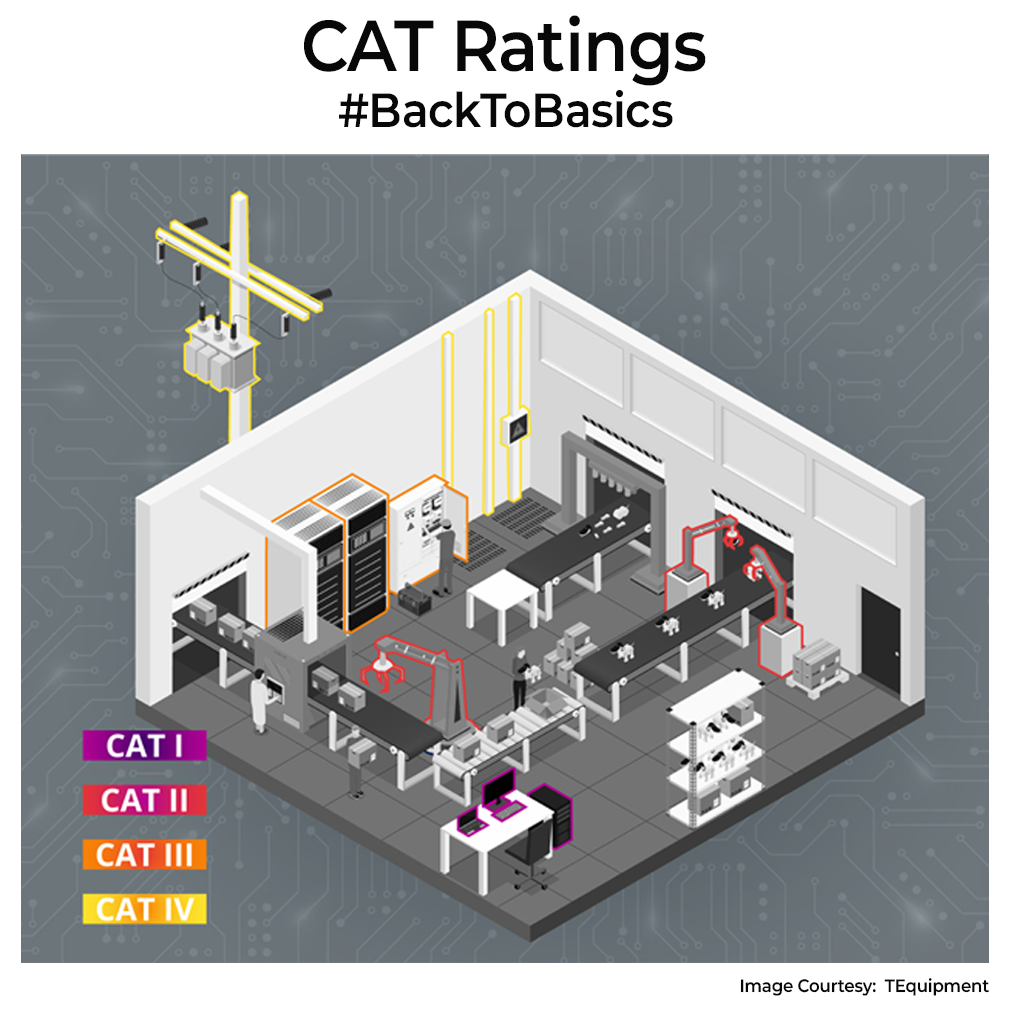
CAT (Category) rating is your first line of defence against voltage spikes. It’s a standardized safety label defined by IEC 61010-1 that tells you how much transient overvoltage protection your multimeter offers in various measurement environments. Transients are those short, high-energy spikes from switching operations, capacitor discharges or lightning strikes that can damage equipment or injure you. A meter’s CAT rating ensures its internal circuitry, insulation, spacing, and spark gaps can withstand these spikes without failure. Lower-rated instruments can blow internal fuses or even explode when used incorrectly.
There are four CAT levels: CAT I to CAT IV. CAT I is for low-energy circuits not tied to mains, like battery-powered electronics or board-level testing. CAT II covers local mains-connected loads, such as household appliances and portable tools. CAT III suits building installations, distribution panels, switchgear, fixed motor controllers. CAT IV is reserved for the 3-Phase Utility Connections, outdoor lines, and high energy devices.
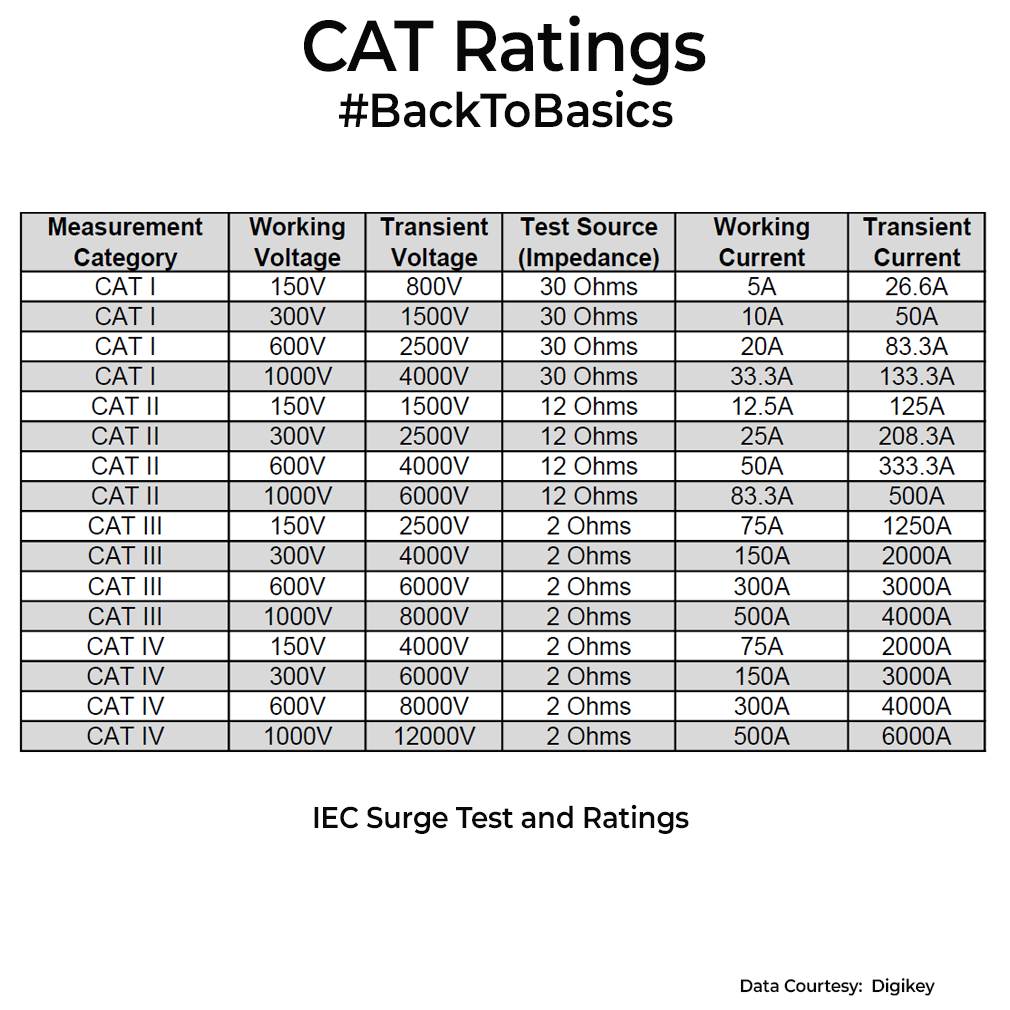
During certification, meters are subjected to impulse/surge tests at specified voltages with defined source impedances to simulate fault conditions. For example, CAT III at 600 V is tested at 6000 V impulse with a 2Ω source impedance, while CAT II at 1000 V uses a 6000 V impulse with 12Ω. This is where folks screwup. A higher working voltage rating does not necessarily mean greater safety. CAT III 600V meter (with higher transient withstand capability) offers more protection than a CAT II 1000V meter, although the later one has higher working voltage. Check the table. BTW, surge tests are not the same as ESD tests that you do. Surge tests have a longer and higher energy levels compared to ESD tests by more than an order of magnitude.
So remember about the CAT ratings next time you use multimeters. Also, don’t forget your test leads: they must carry the same CAT rating and voltage, else its useless.