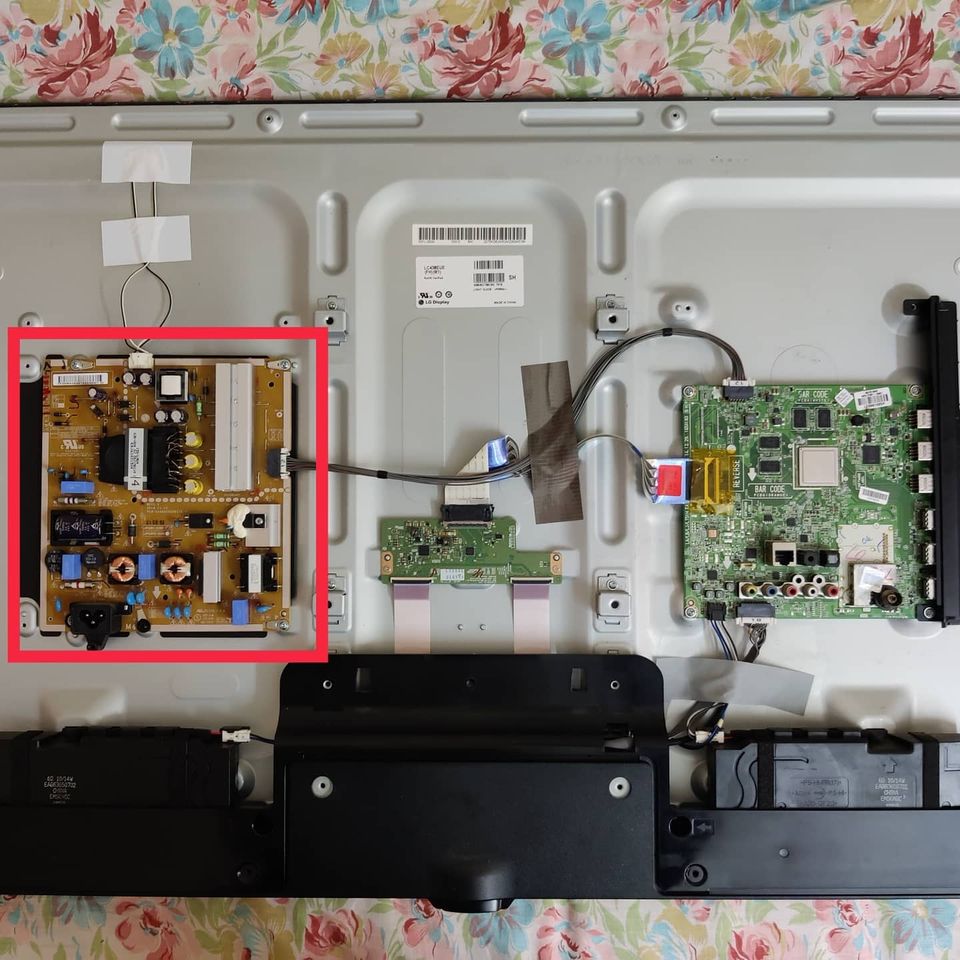
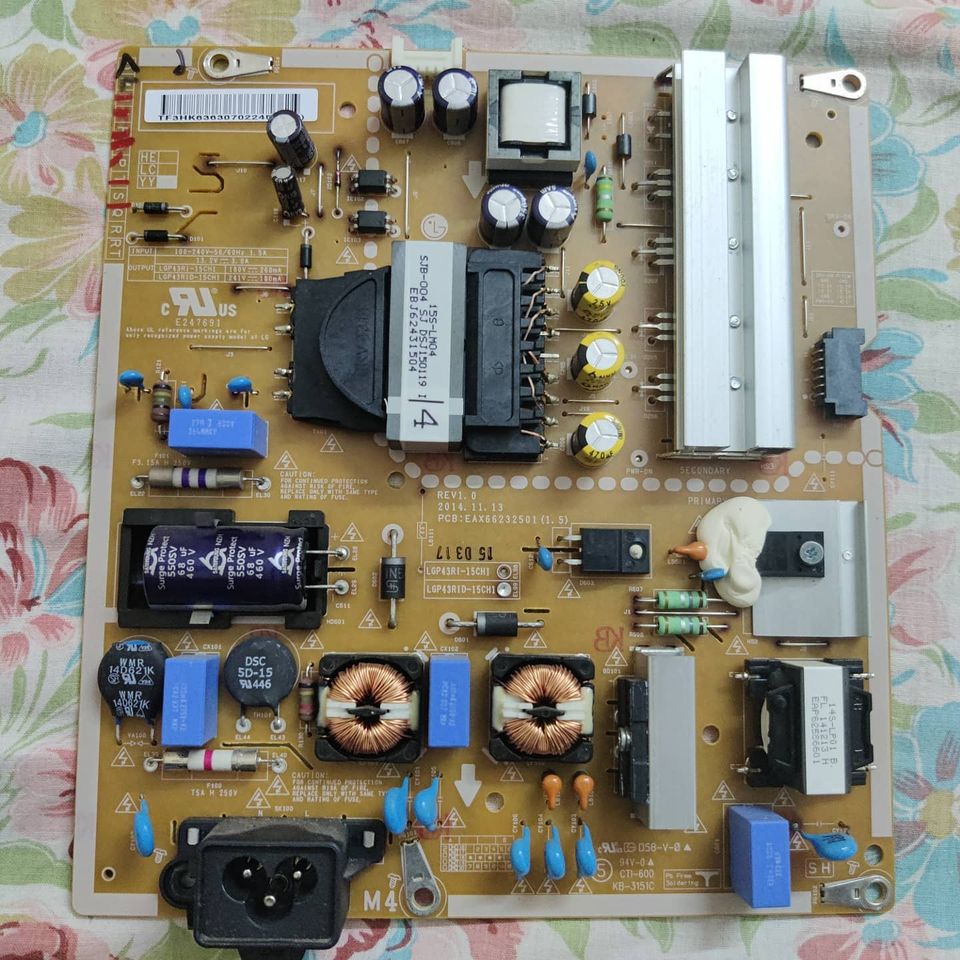
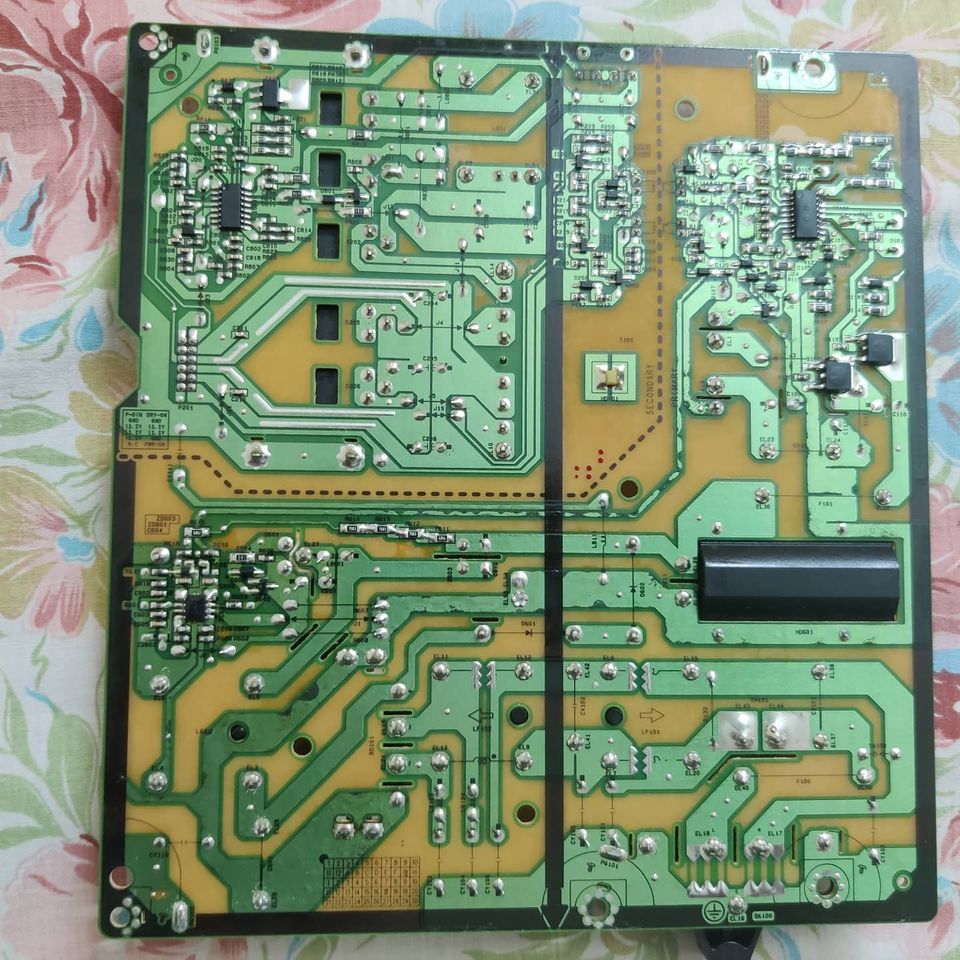
LED Bulb Teardown and Repair

View this post on Instagram

A post shared by Amaldev Venugopal (@amaldev.000)

Had this 12W LED bulb running almost daily for the last 3yrs. It started misbehaving yesterday with a constant blinking 5mins after turning ON. I thought I should try repairing just to see what it would take. Never had opened up a LED bulb in real life.


First was to pop open the lid of the bulb. Tried various techniques including heating, but it never budged. Had to put it through a Dremel finally. Removed the top lid cleanly cutting all the way around, to reveal the 38LEDs. It’s wired as 2 series rows of 19 LEDs each with an output DC voltage of approx 57V. The LED PCB has a big heatsink with metal on the backside to attach itself to the main body heatsink. Removing this from the main body was the hardest part of the whole exercise. The LED is not meant to be repaired by the manufacturer considering the amount of silicone glue put in. After tons of brute force, was able to wedge a screwdriver in to release the heatsink and reveal the driver circuits.

To release the LED driver board from the body, you need to heat the 2 iconic blobs of solder which you commonly see on the holder portion of the bulb. Once this solder is removed, the driver slides out entirely. The circuit consists of input fuse, bridge rectifier, a generic driver LED to ensure constant current on the LEDs and a large 100uF, 80V electrolytic capacitor at the output.


Troubleshooting time. ?
Blinking of the output is usually due to the output stage collapsing and most of the time the culprit is the output cap which degrades over time. Although in this case, I couldn’t find anything visually wrong with the capacitor(No characteristic bulges), I thought to replace it anyway. Voila, it fixed it. The old capacitor was faulty. Didn’t have to take out my big pieces of equipment to solve this one. ?
A well-spent Saturday afternoon ?

LED Bulb Teardown Repair
If you liked the post, Share it with your friends!

Old GameBoy Advance SP Restoration

Brought this beauty back from the dead today. 🙂

Was cleaning the home and found this guy in a pretty bad state. Buttons were broken, the ON-OFF switch not working and leaked batteries. Replaced the pushbuttons salvaged from my kit, cleaned up all the battery residue and replaced it with a beefy 4000mAh rechargeable LiPo battery followed by a wash with IPC to remove all the dust between switches.

The device turned ON but then the cartridge was not working. Tore it down and found a lot of water damage(I presume). Cleaned it up and reflowed the entire cartridge to reinforce the solder and voila it jumped back to life with Spidey back on screen.

A Sunday morning well spent. ?

Gameboy Advance Teardown

Gameboy Advance Teardown

Gameboy Advance Teardown
Gameboy Advance Catridge
Repaired Gameboy with a 4000mAh Battery
Repaired Unit with a 4000mAh Battery

Check out the video of it coming back from the dead.

View this post on Instagram

A post shared by Amaldev Venugopal (@amaldev.000)

If you liked the post, Share it with your friends!
1 10 11 12