Back To Basics: Thermal Pads vs Thermal Paste

Recently, I was working on a client project where I had to decide between using thermal pads or thermal paste for a custom heat dissipation solution. It’s a decision many engineers face, and I thought it’d be helpful to break it down here.

Basics first. Transferring heat is critical to ensure your electronics last longer and perform better. It can be SoCs, LEDs, Power MOSFETs etc. Both thermal paste and thermal pads are materials used to fill microscopic air gaps between a heat-generating component and a heatsink. But when should you use one over the other?

Thermal paste/Thermal grease is a viscous material that provides great thermal conductivity. It’s often preferred in cases where the contact surfaces are perfectly aligned or where you require maximum heat transfer. Since they are in paste form they virtually have no “thickness” so the metal heatsink technically has max contact with the heat source for maximum heat transfer.

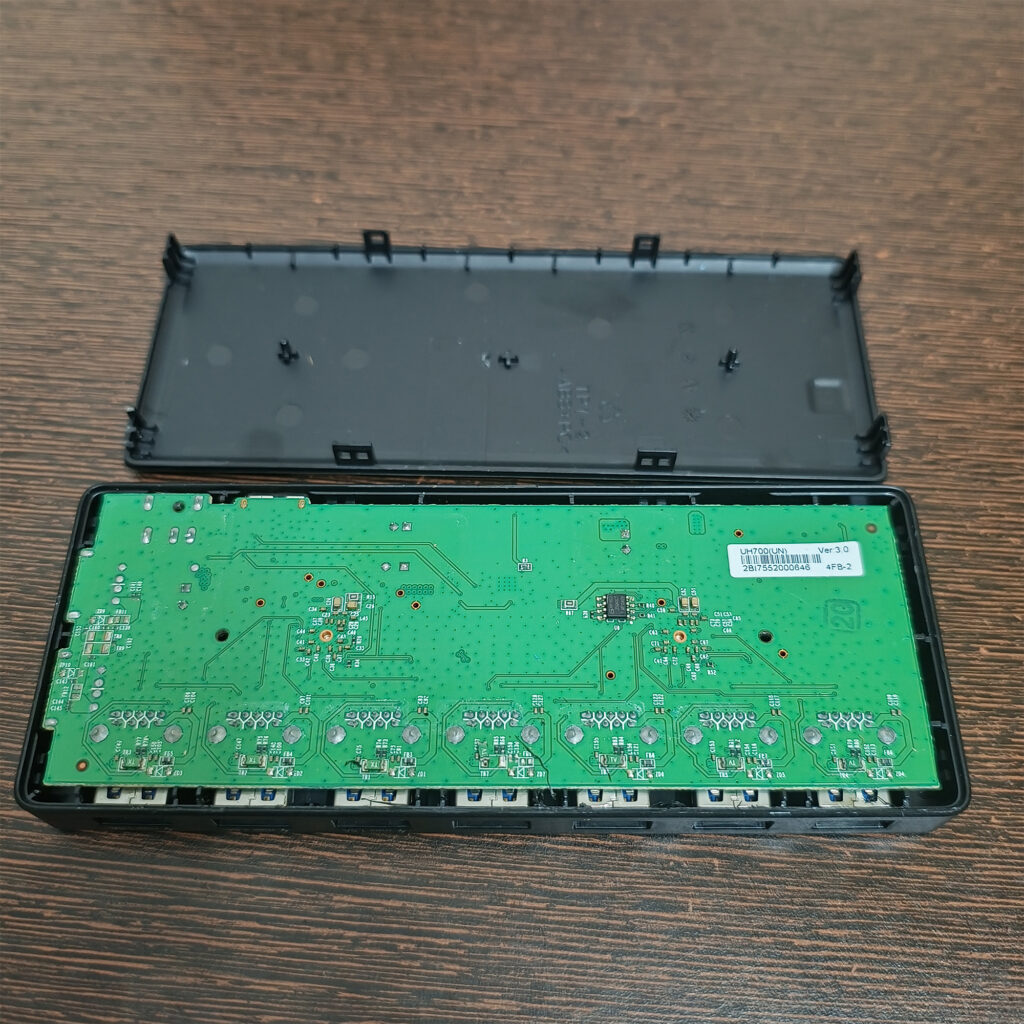
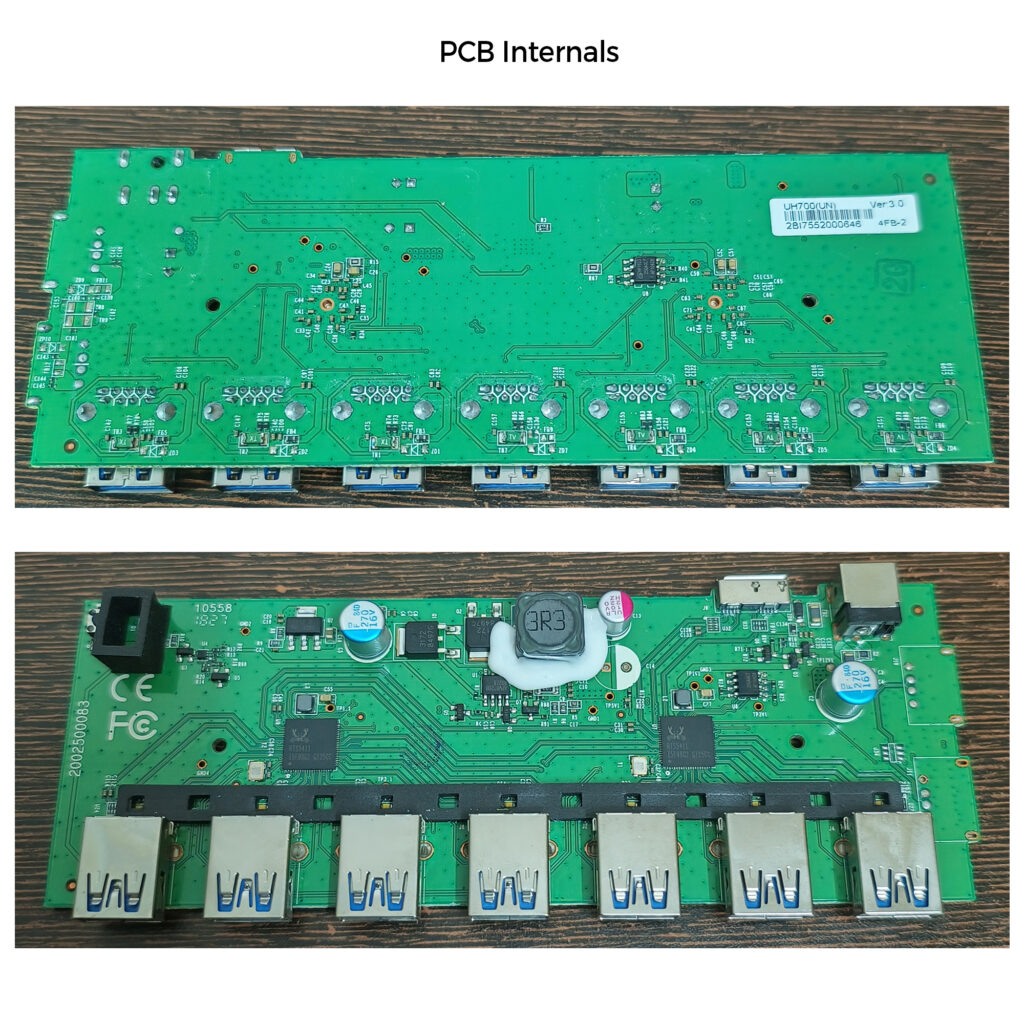
Thermal pads are pre-formed, solid sheets of thermal material that are easy to apply and is not messy to use at all. Here the overall heat transfer is less because this material has some thickness and it acts as an insulator between the heat source and the heatsink. So why would you want to use this if conductivity is lower? It’s for those cases where you can’t have flush contact between the heatsink and the source for different reasons like non-flat surface due to manufacturing tolerance or if you are using the same heatsink for multiple ICs of varying heights. The spongy nature of thermal pads handles this height variation. Another great thing is it doesn’t dry out over time. Make sure you choose thermal pads of the minimum thickness possible.

In summary, both materials have their place. If max heat transfer is needed and surfaces are flat go for thermal grease, else use thermal pads. Hope this helps.

If you liked the post, Share it with your friends!

Teardown: 7 Port Active USB3.2 Hub

Haven’t done a teardown in a while. Had a TP-Link UH700 7-port USB hub in my scrap pile(But it was working). It’s a 12V powered USB3 hub with 7 ports and Micro USB3 input. After a solid 15-minute struggle, I managed to pry it open – those clips were tough! Needed multiple spudgers for the job.

Coming to the internals, the star of the show is two RTS5411S USB3.2 Gen1 4-port Hub controllers(In the middle row) powering 7 ports with a 12MHz crystal. The 8th port is routed as an input to the second RTS5411S. Firmware configuration likely resides in 25Q40CT SPI serial NOR flash chips located on both sides of the PCB. A convenient soft latch button rests on the top left. The power section on the top right and middle contains a 12V input jack and step-down buck converter APW8720B to put 5V through to beefy N-channel MOSFETs CED3172 and a massive inductor at the output. This chip fuels downstream 5V supply and an adjustable 1117 LDO supports the 3.3V rail. Each of the 7 ports has a PTC fuse protection to avoid blowing up if one port draws more current. There is a single LED to show if a port is active and the good part is that LEDs are optically isolated with a cheapo(but effective) black foam. There seems to be space for 2 more USB2.0 charging ports on the right which I believe is for a different Hub model with the PCB. Use the same PCB and sell it as a 9-port device. More Profit.

What’s intriguing is that every port has a footprint for an ESD diode array, yet none of the 8 USB ports, including the input port, have been populated. This seems like a risky approach and a strict no-no in my books. My assumption is that TP-Link might have used these chips on the certification test board to pass tests but omitted them in production to cut BOM costs. Though against the rules, this is a practice I’ve seen before in consumer products from other companies too. These units are likely to struggle with ESD tests. Has anyone in low-humidity environments faced ESD problems with this model?

If you liked the post, Share it with your friends!
1 2 3 13