Desktop Processor Socket Types

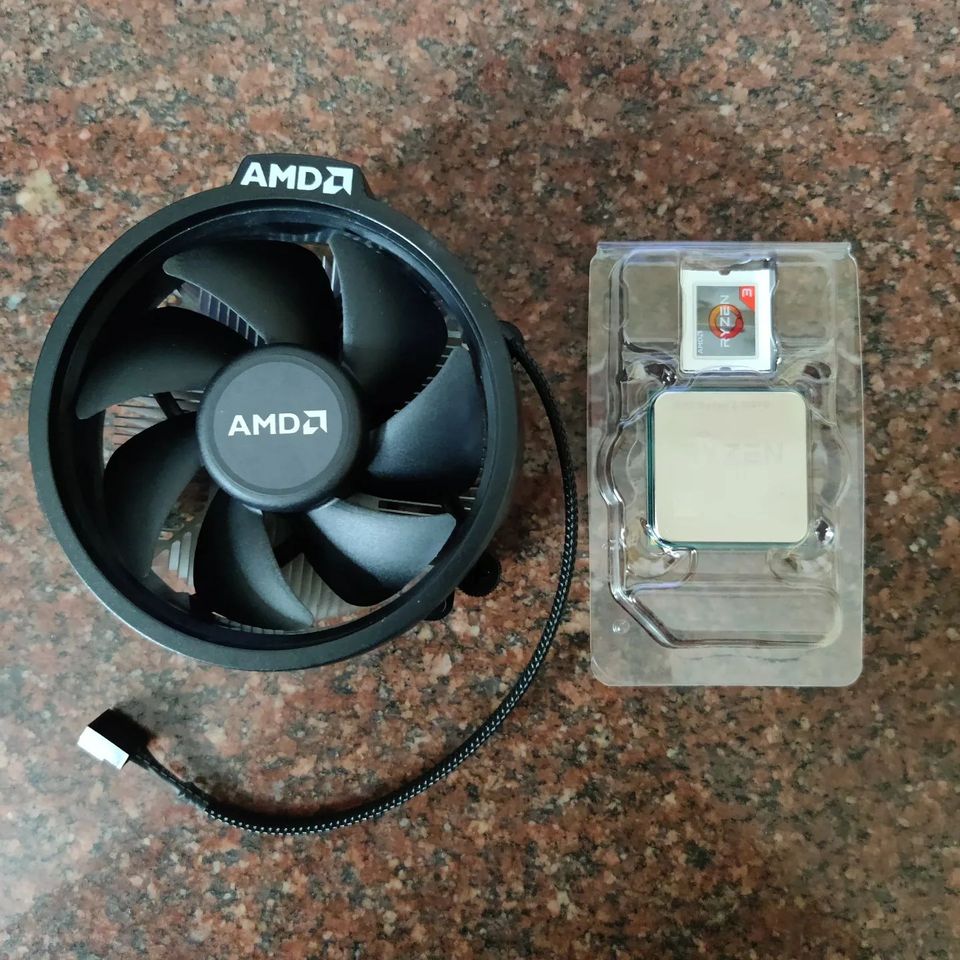
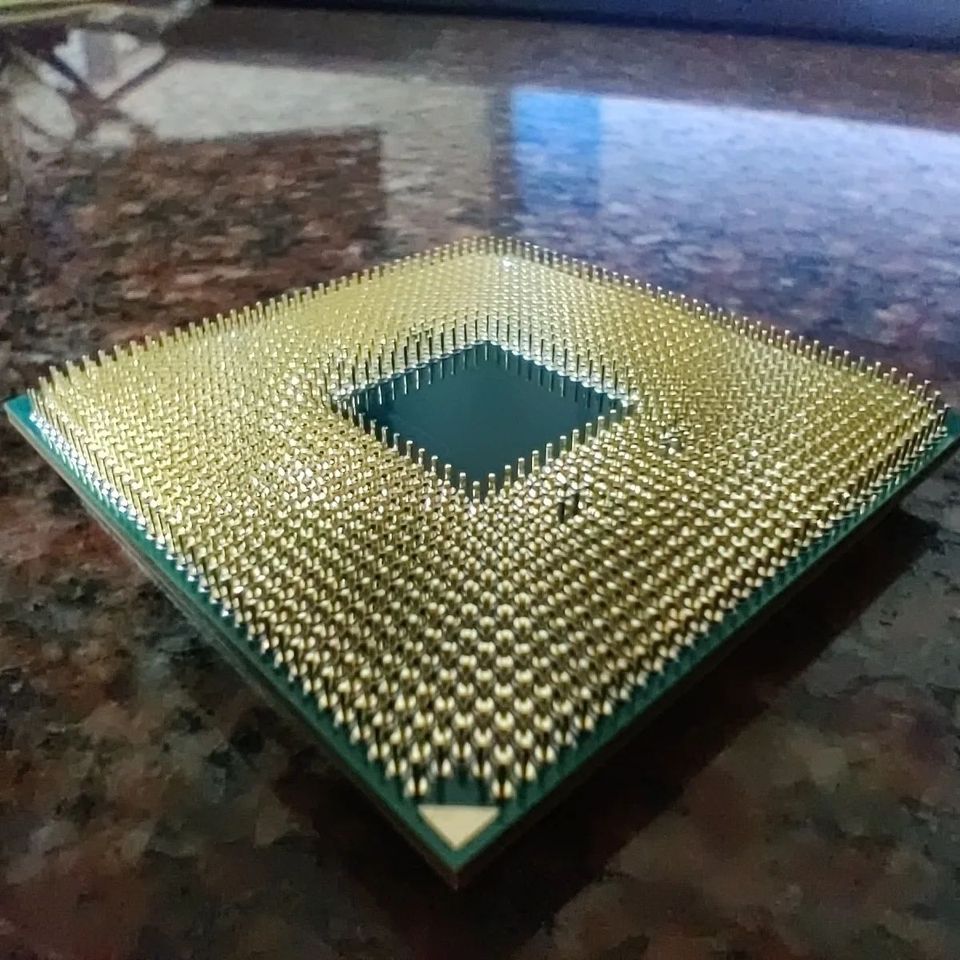
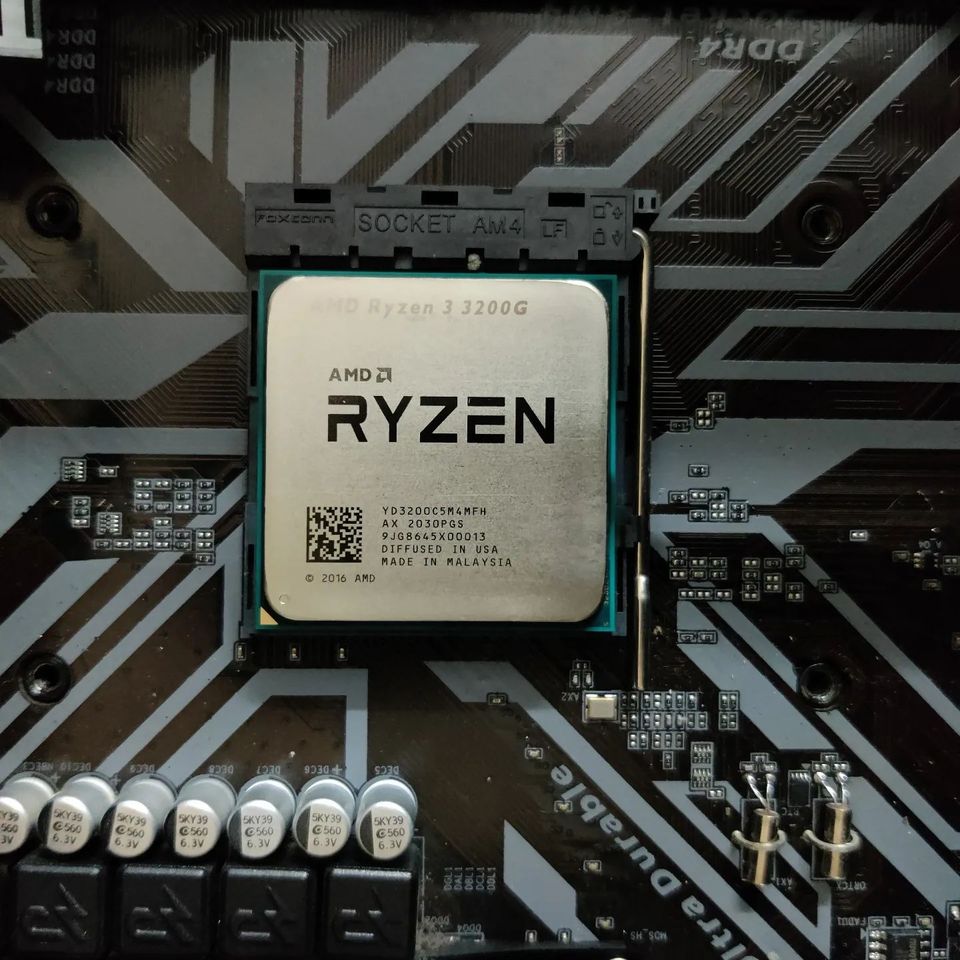
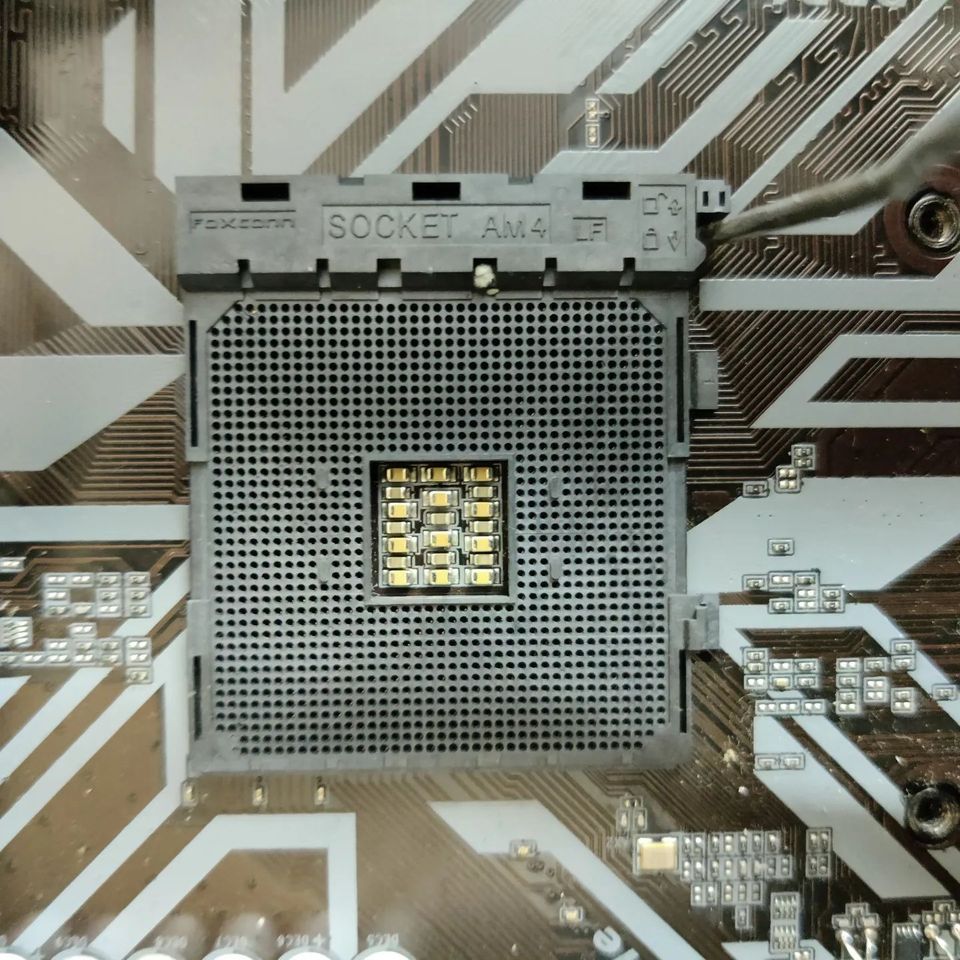
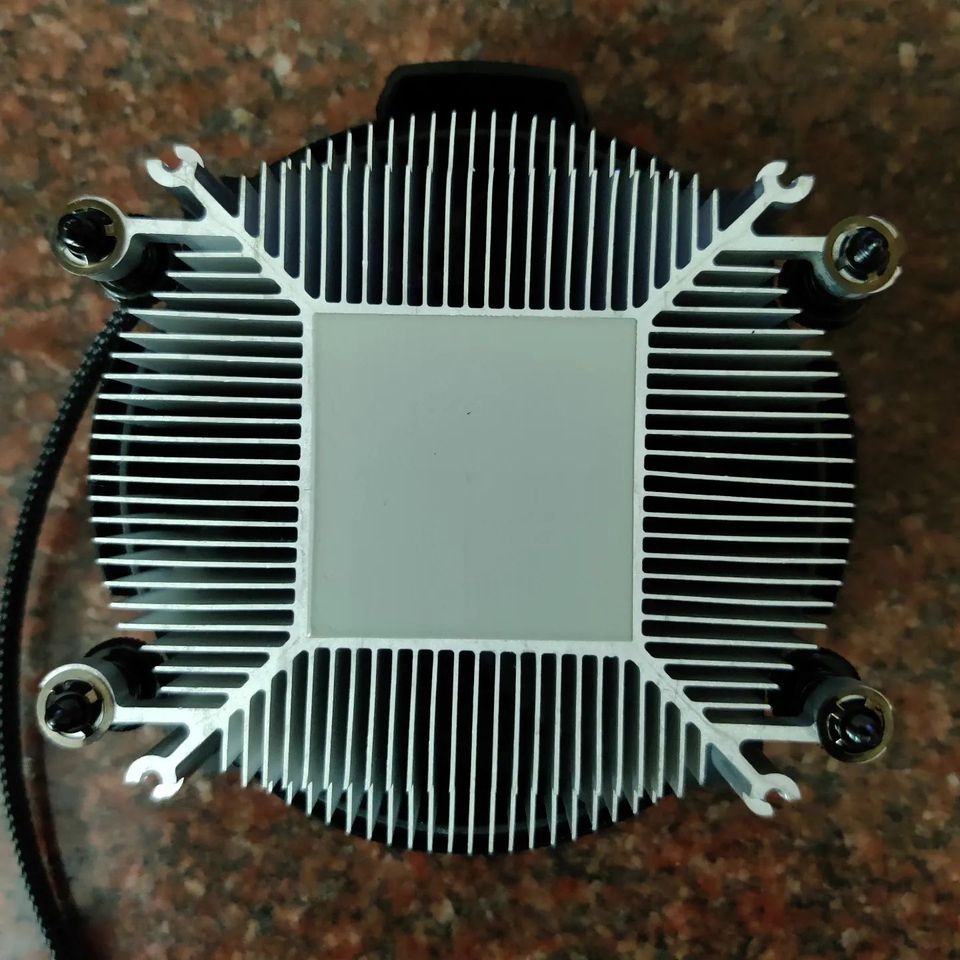
Was repairing a PC this week by replacing the processor which blew out on a power surge. There are so many things to talk about on a custom PC build. Today let’s just focus on processors and their physical packaging. Desktop class of processors usually come in 2 physical forms, Land Grid Array(LGA) and Pin Grid Array(PGA). LGAs are commonly seen in Intel Processors while AMD ones prefer PGA. The picture shows an AMD Ryzen 3 Processor with a PGA. It means that the processor contains connectors in the form of pins and on the motherboard socket end(where the processor is placed), contain the negative holes and are locked in place when they match up. Personally, I hate the PGA style of processors as it’s very easy to bend the pins while removing processors and these are quite fragile. Even a single broken/bend pin will render your processor useless. This becomes a problem when you are removing the heatsink/fan and the processor gets almost fused with the thermal paste. Even though the socket is locked you won’t be able to pull out the heatsink without damaging the processor pins.

Intel does this right with an LGA in which on the processor end you have gold plated flat pads and on the motherboard end, you have the connector pins. Now there are chances that the pins on the motherboard can bend with repeated use but usually, motherboards are much cheaper than processors these days even if you ruin them. So this gives the person handling the Intel chips a bit more leeway.

Intel usually names their processor sockets with the name LGAXXXX where XXXX will denote the number of physical pins on the processor. eg. LGA1150, LGA1700 etc whereas currently, AMD keeps the name constant as AM4(For most of their current processors with 1331 pins), with AM5 sockets coming out soon. For their server class of processors, the socket is called TR4(Thread Ripper). Hopefully, this will help you on your next custom PC build and all these names and sockets start to make sense.
If you liked the post, Share it with your friends!

Cheap LED Balloon Lights Teardown

View this post on Instagram

A post shared by Amaldev Venugopal (@amaldev.000)

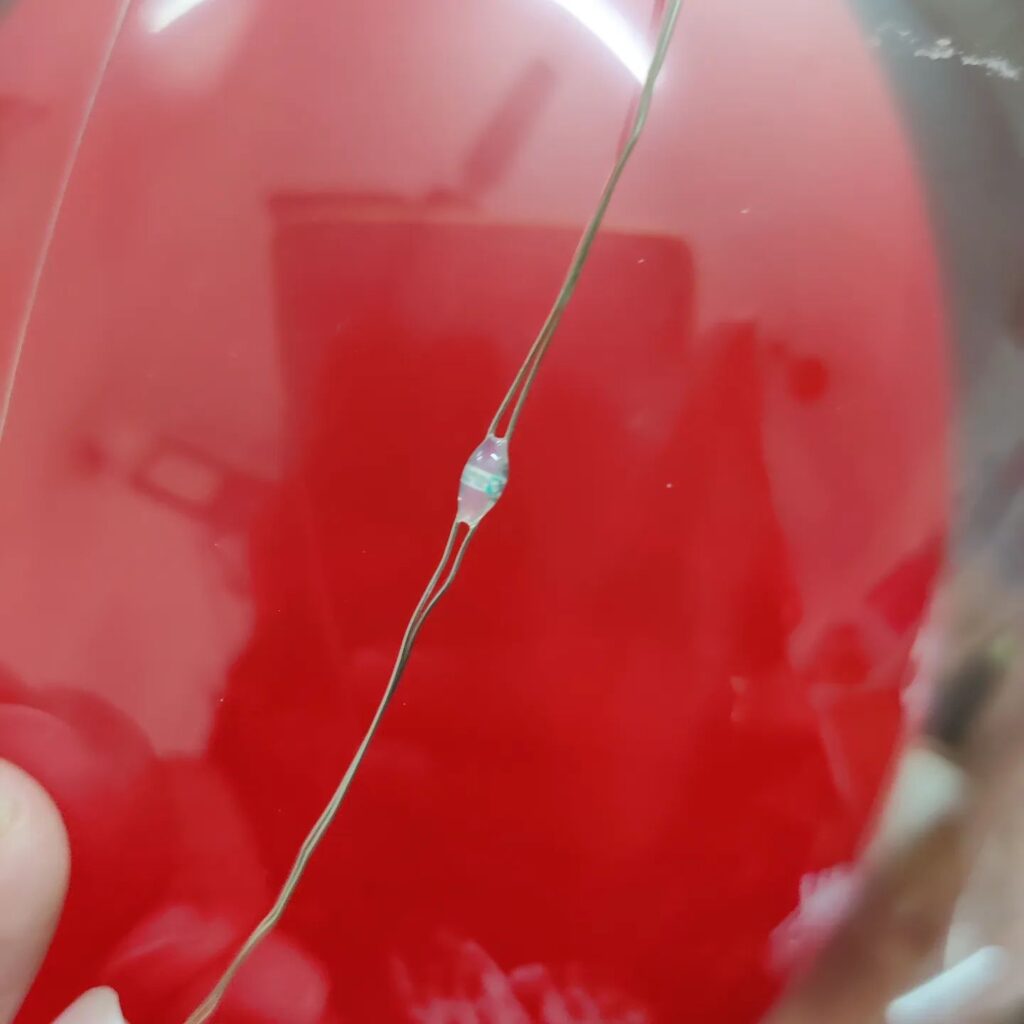
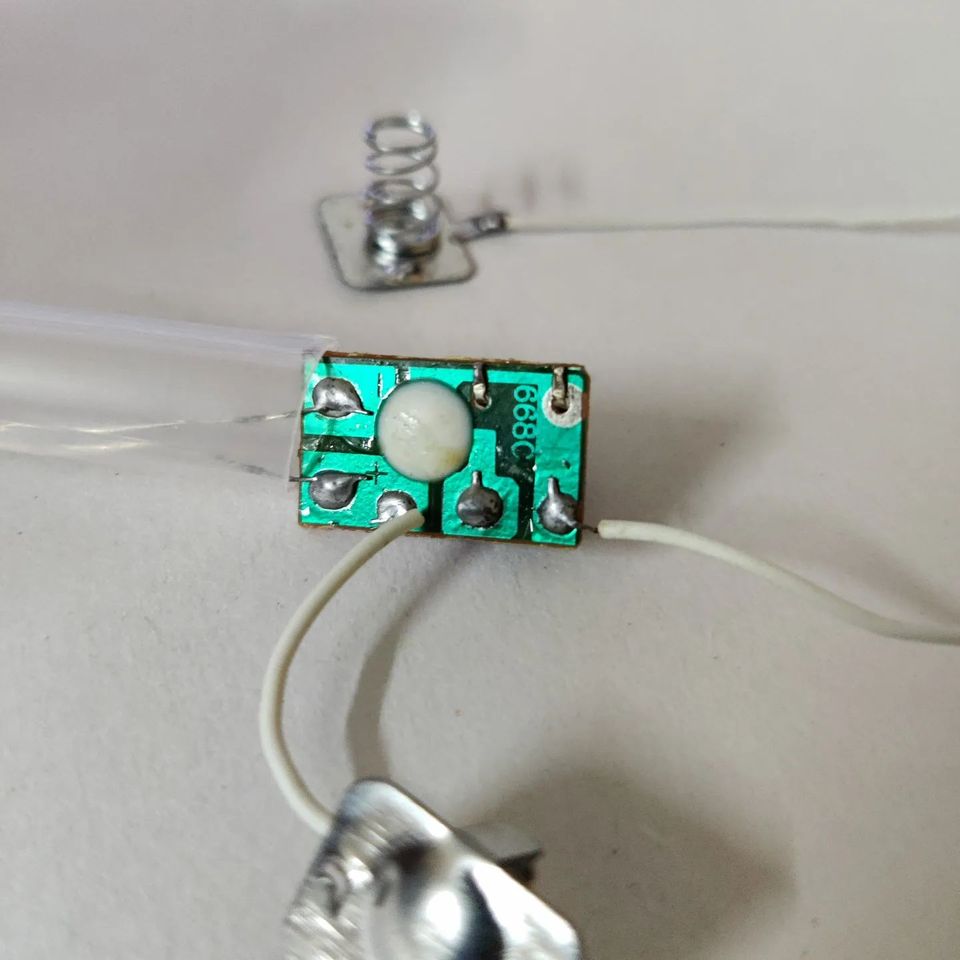
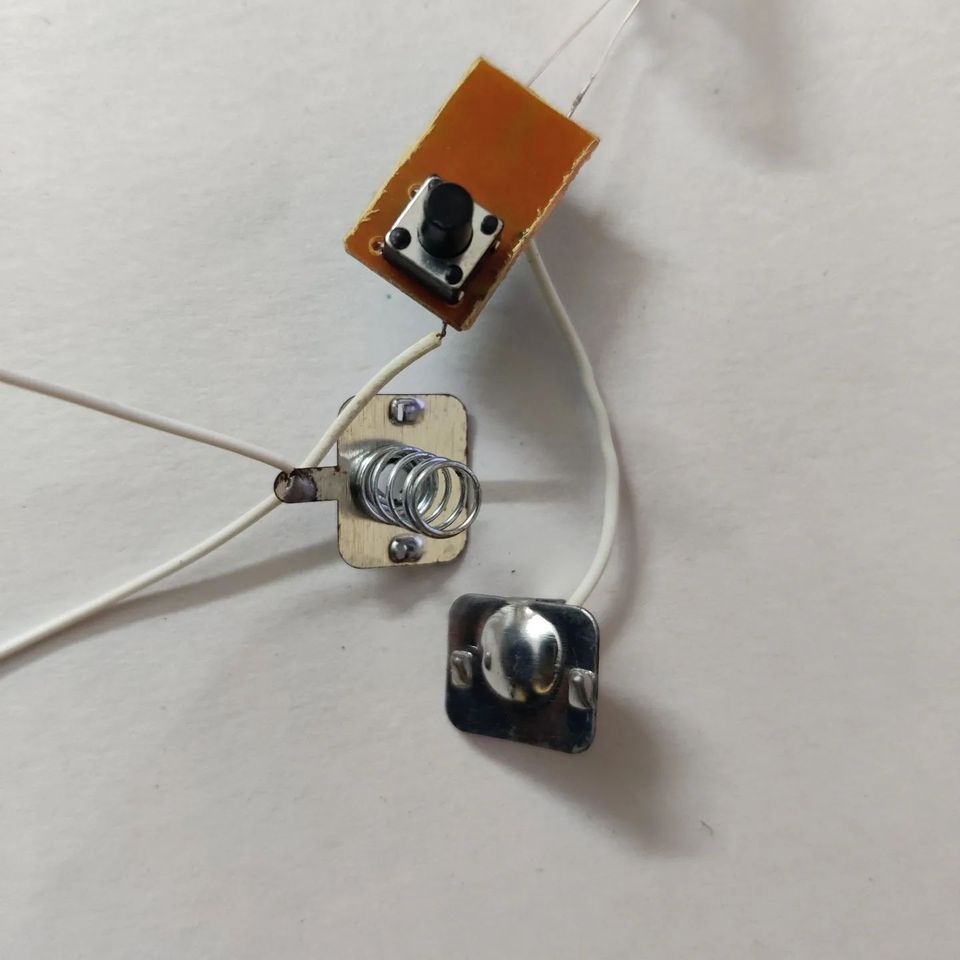
I have written about similar toys and lights earlier too, but toys these days outdo all possible ways of cost-effectiveness. What you see in pics and videos for this post are fancy light balloon lights. These are available on the roadside for INR 50($0.6) but cost less than INR 20 ($0.25) to manufacture. Just take a moment to think about how ridiculous that price is. For INR 20, you get 2 high-quality medium thickness balloons, 28 LEDs, 3AA Batteries, a PCB with an ASIC LED driver, a push-button switch, 3m long single-stranded 26AWG wire, 2 battery spring contacts, 3 injection-moulded hard plastic handle pieces, long flexible plastic tube and a plastic ring to hold everything in place. How crazy is that? That’s the power of Chinese manufacturing at scale. You can say whatever you want about the geopolitical situation, folks from China do know how to manufacture electronic stuff, period. Just imagine how you might solder 28 LEDs on a bare wire, at least that would amount to some cost. How on earth is this so cheap?

Coming to the electronics teardown, all that the PCB contains are the leads for the battery, a push button connected to a custom ASIC LED driver with 28 LEDs(each of a single colour type) all connected in parallel on an approx 3m wire. The push-button cycles through 3 modes(PWM drive) of LED blinking operation on the sequential presses of the button and finally turns OFF. I measured the power consumption of the circuit. On steady-state mode consumes approximately 60mA of current amounting to 2mA/LED. On the blinking states, it’s around 35mA in total. Considering the total price, the custom ASIC will be costing INR 2-3. That’s insane. It’s always fun to figure out how these toys are put together.

If you liked the post, Share it with your friends!
1 3 4 5 6 7 13