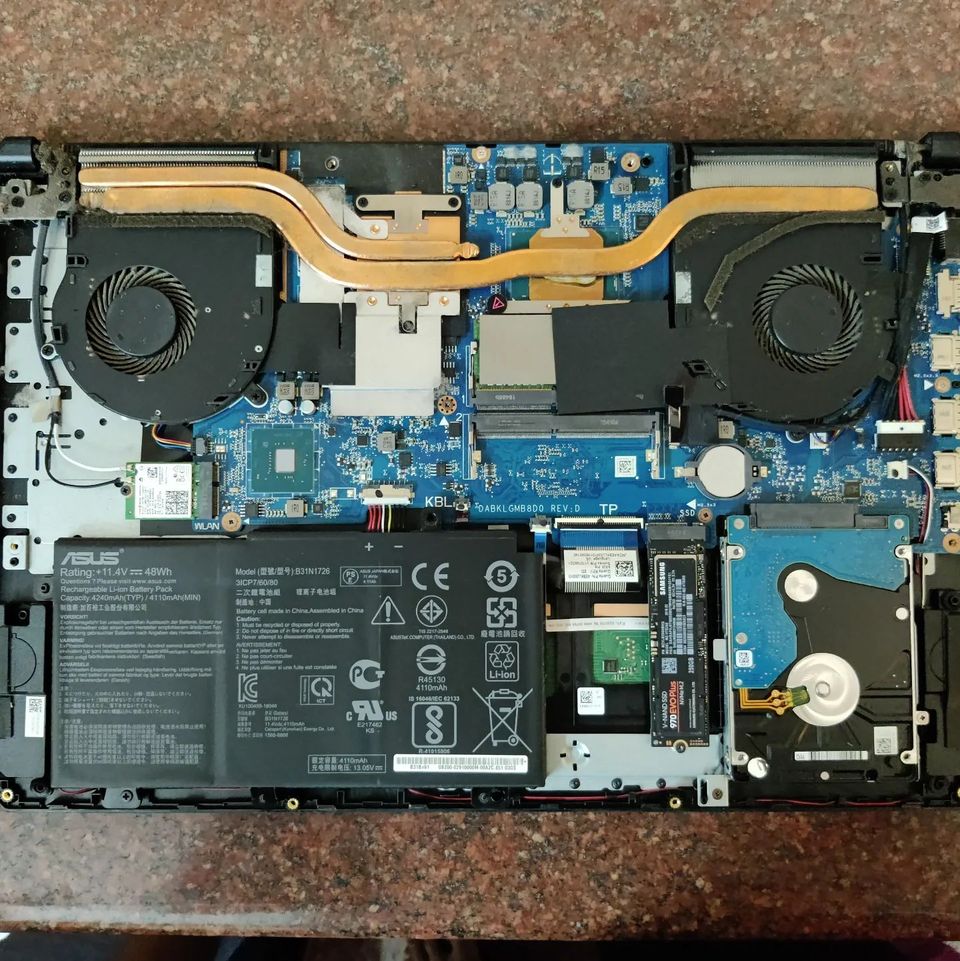
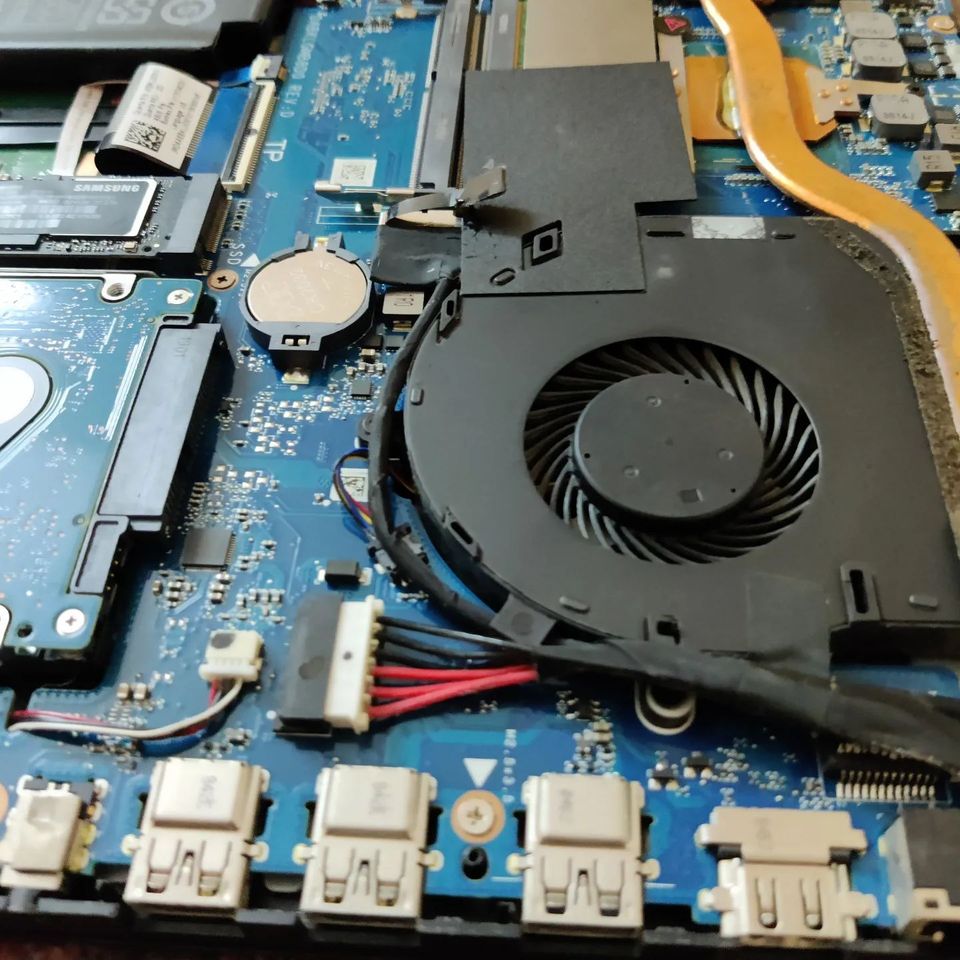
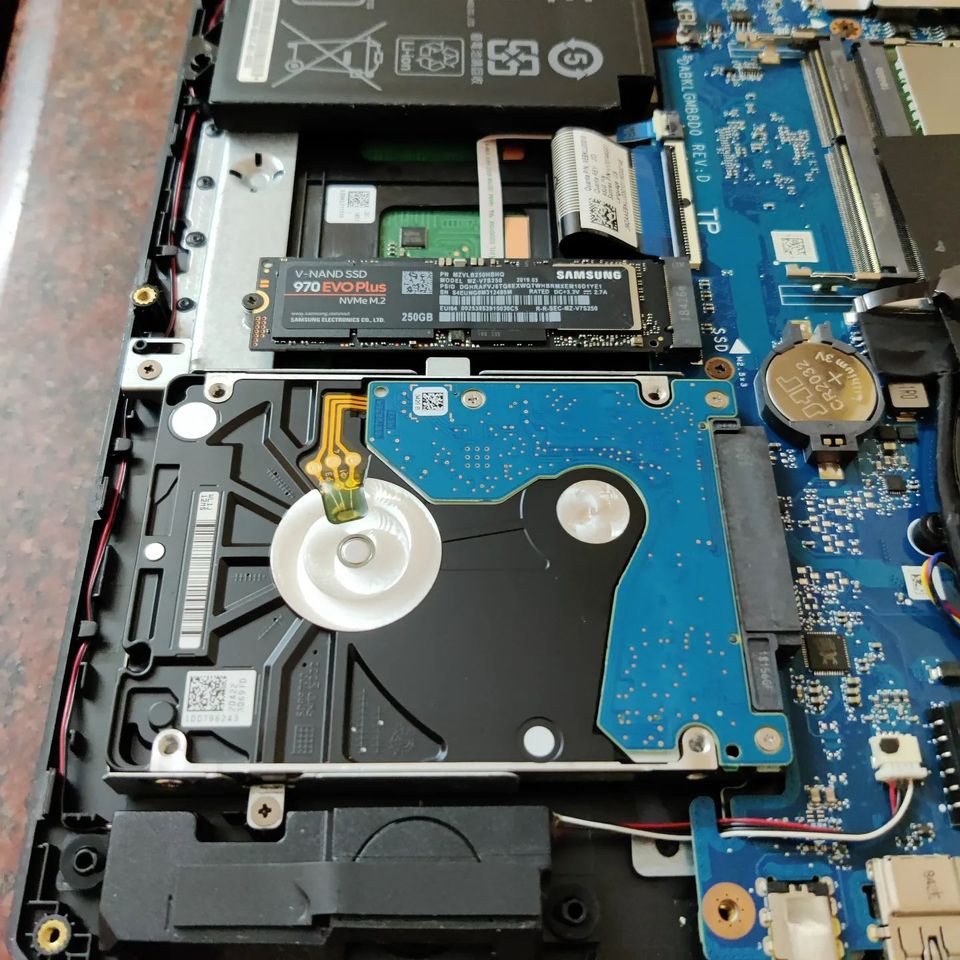
Headphone Volume Control DIY Fix

View this post on Instagram

A post shared by Amaldev Venugopal (@amaldev.000)

In these days of wireless headphones, I am still a fan of wired ones because of their longevity and not having to recharge them every couple of days(Also after a few hundred charge cycles, the battery loses its capacity). I like the ones with a built-in microphone and slider volume control. Usually, after a year or so of its use, most wired headphones would have the problem of mismatched sound on both ears and when the volume slider is moved, there is always poor volume progression, followed by sound cracking.

Mechanical sliders inline in your headphones are resistance potentiometers that have a wiper arm changing the resistance when you move the knob. What happens after some amount of use is that the wiper contacts get dirty and the resistance values won’t increase gradually. It makes contact only at certain points(Hence the cracking/popping sounds).

A quick fix to this problem which always seems to work for me is to take a high-quality Isopropyl Alcohol(IPA 90%+ concentration) and spray down the contacts. If there is a chance for you to open the plastic enclosure it will be great to open and clean it. Most of the time as shown in the video, it will be ultrasonically welded and you won’t be able to open it without breaking it. In that case, find a small opening next to the slider and spray the IPA. Make sure you move the sliders back and forth quickly a few times to properly clean the contacts. That should fix your problem. Good quality IPA evaporates fast and won’t leave any residue.

PS: Don’t use any oil-based lubricants for this if you can’t find IPA as it will damage your carbon film potentiometers. Another alternative is to get professional-grade electrical contact cleaners.

Happy Listening. 🙂

If you liked the post, Share it with your friends!

Jio WiFi Hotspot Teardown

Somedays I just like to take apart stuff for the fun of learning how it’s engineered. Jio Hotspot device was something which was lying around unused for the last couple of years so I took it to bits. This teardown was destructive, to say the least. It wasn’t meant to be disassembled. It has an interesting construction with a 2300mAh (8.74Wh) Li-Ion battery. It has two massive RF shields on both sides of the PCB. Even removing one was a massive pain with lots of heat needed to remove it. The wireless networking is handled by RTL8192ES chip for WiFi-related RF communication. Power and battery charging is handled on the backside of the board. I was just not able to remove the back RF shield with heat, with the equipment I have. Need heating devices of large thermal capacity to remove it I suppose. I am assuming it will hold the main SoC(most likely from Mediatek). It consists of 4 flexible FR4 antennas on all sides for LTE and WiFi connectivity.

Doing teardowns will help you learn how a device is put together in terms of mechanical design too. Like, how is an external push button integrated with the case(Check out how beautifully the mechanical motion is achieved via a circular maze-like flexible button)? How is the lighting done with backlit symbols? There are a lot of things you can learn from things like these to help you become a better product engineer.

So My advice: Take stuff apart constantly. You won’t regret it.

If you liked the post, Share it with your friends!
1 5 6 7 8 9 12