Personally, I am not a fan of wireless headphones. There is a myriad of reasons for it but the primary one is its battery life. I hate having to recharge the headphones time and time again. This week, I came to know from our friends at iFixit that there is a new headphone in the market which can do 300hrs+ of active playback on a single charge. It’s the Cloud Alpha Wireless from HyperX. That’s a mind-boggling number, if you are a heavy headphone user, using it for 10hrs a day, headphones would still have juice in them at the end of the month.
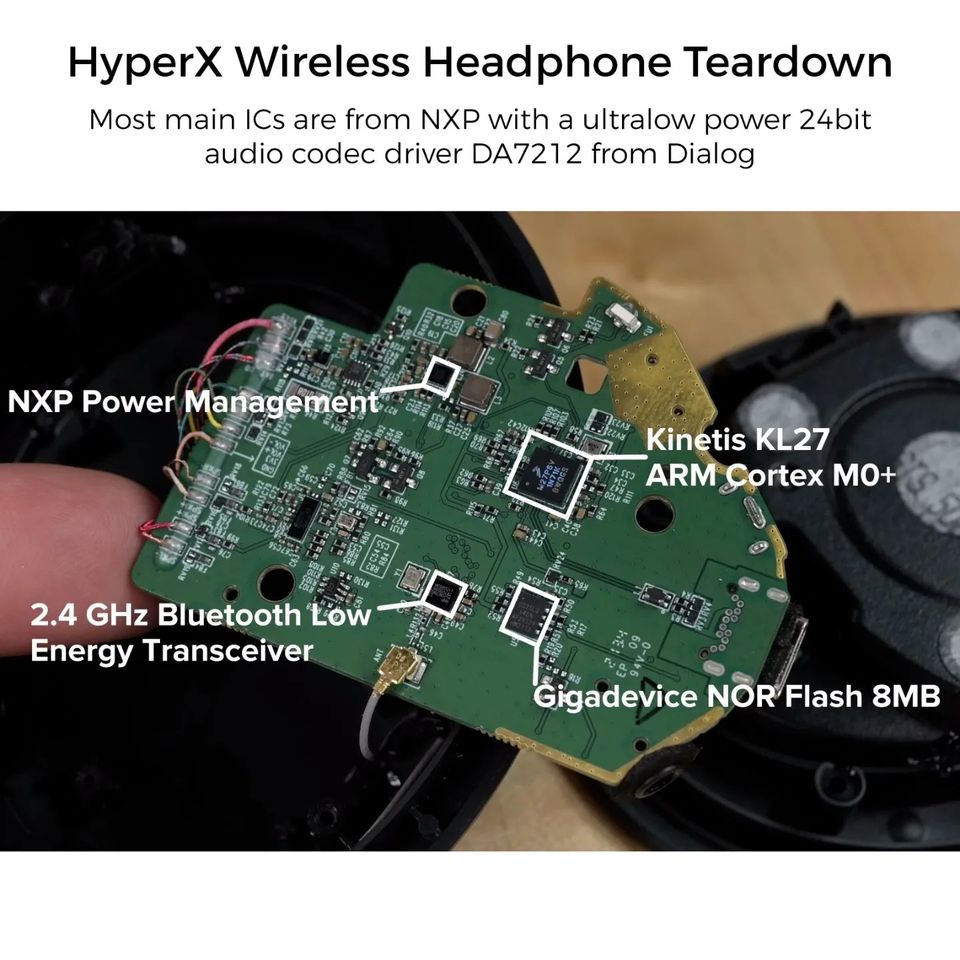
If you check their teardown video, you will see them trying to figure out the reason behind this insane battery life. If you analyse the PCB, they just have standard components designed for low power usage, like an ultra-low power 24bit audio codec driver, DA7212, from Dialog or NXP M0+ controller with 46 μA/MHz power consumption. But these are kind of a norm in today’s consumer tech devices and it’s not something that’s out of the ordinary. Personally what sets it apart is its massive battery. Let’s talk about that.
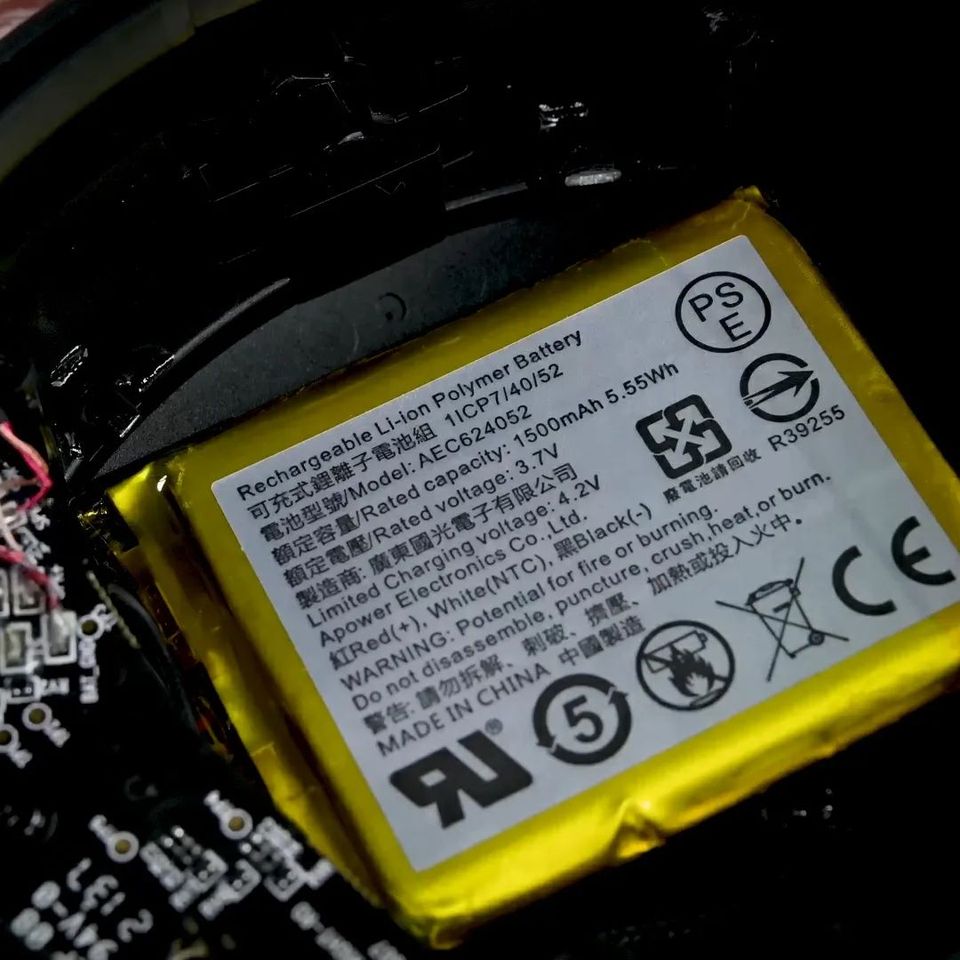
These headphones come with a 1500mAh(5.5Wh) battery which weighs around 25g and fits snugly in ONE of the 2 earpieces with room to spare. A larger battery means a larger playback time(Duh!). Herein lies my problem with major wireless headphone manufacturers out there. Let’s take Apple’s premium Airpods Max(approx runtime of 20hrs), which weighs in at 385g(Compared to 337g of HyperX), costs $550 and has 2 batteries totally 664mAh(2.53Wh). Why on earth do you not add larger batteries to your headphones? It cant be due to lack of space since you have 2 massive areas around the ear where you fit it. It cant be due to price, a larger battery will only increase your BOM by a max of $1. It cant be due to the weight, as larger batteries will add a max of around 15g to the device. So, all I can think of is that it’s by choice.
It’s not just Apple, take any major company out there. Playtime numbers are similar around 30-40hrs. If a company can make leaps in terms of longevity by a simple design choice, as a consumer, I am all for it. Granted that HyperX doesn’t have active noise cancellation which is a power guzzler because of the real-time signal processing involved. But it’s really making a statement that something like this can be built. I am hoping other companies do take note and start to follow suit.
PS: Teardown pics are from the iFixit video https://youtu.be/5t0Jyzh0veo. Do check it out.