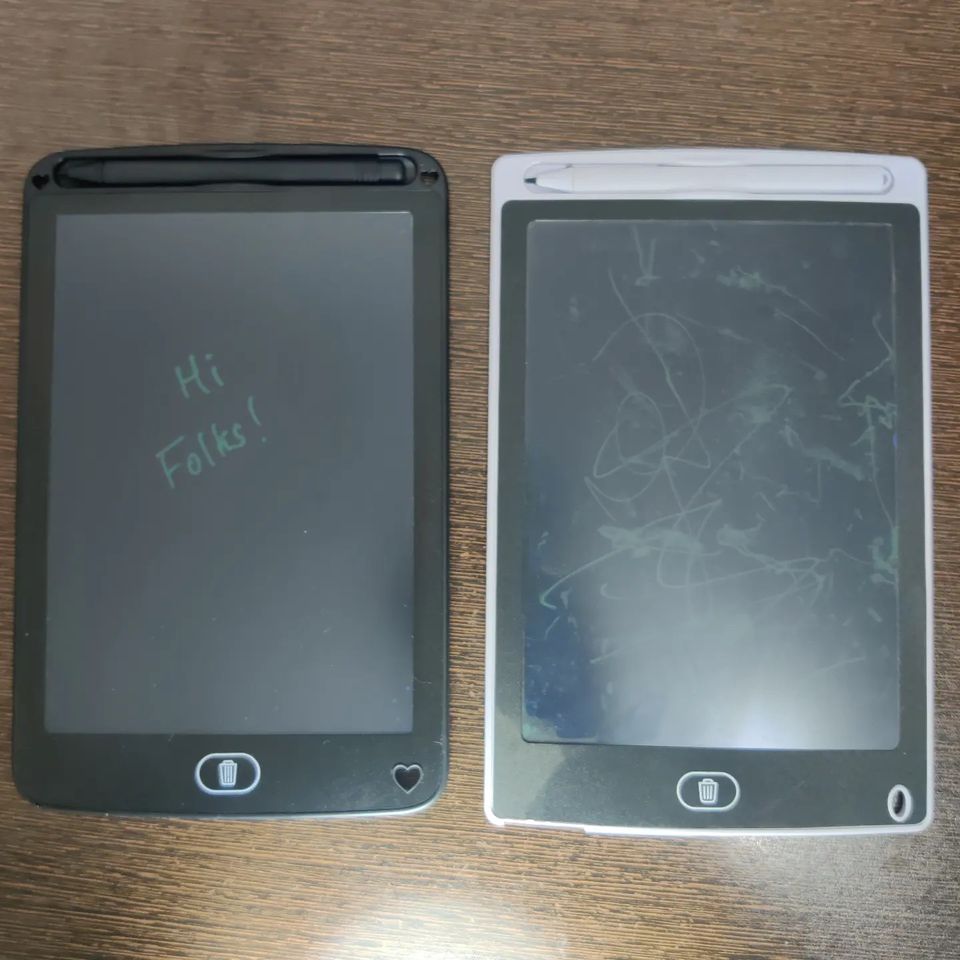
These electronic writing pads have been one of the best value buys for me in the recent past. It has a large screen and you can write on it(on zero power) with any sharp object and it retains the doodle. The power is only utilised to clear the display with a press of a button. It’s excellent as a scratch pad. I really wanted to open it up and see the internals and how it works.
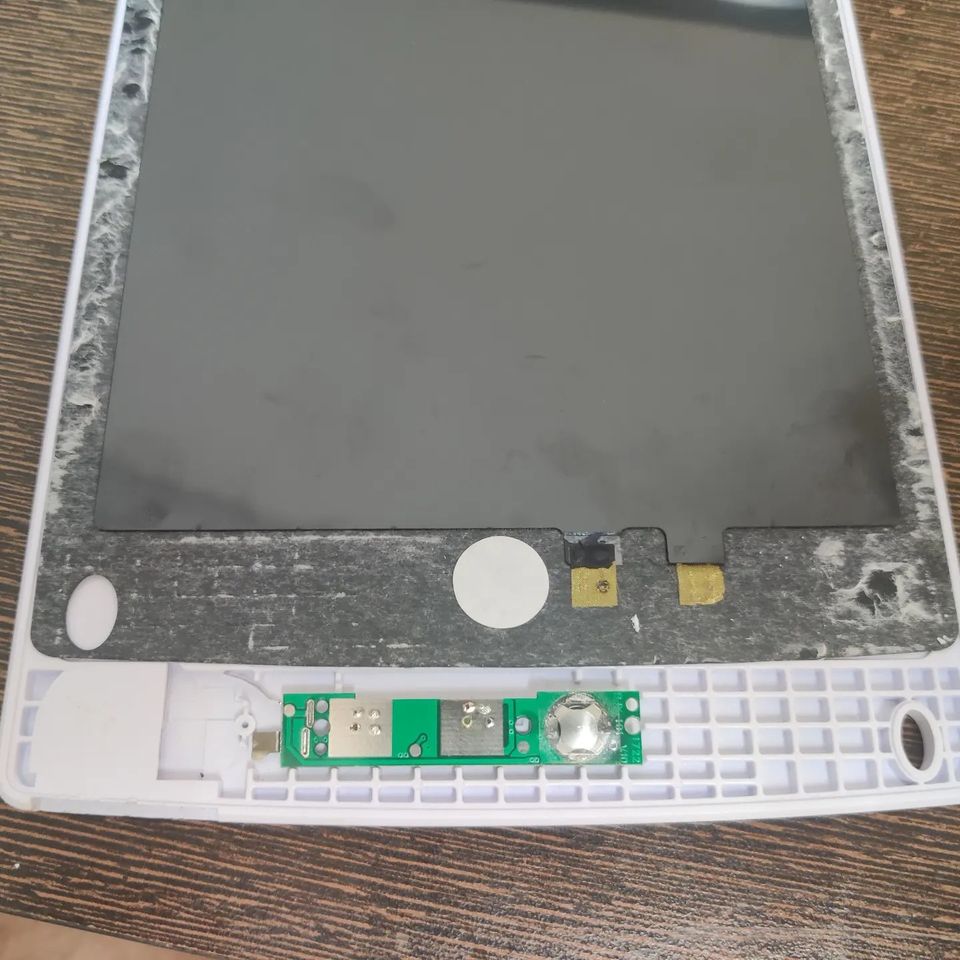
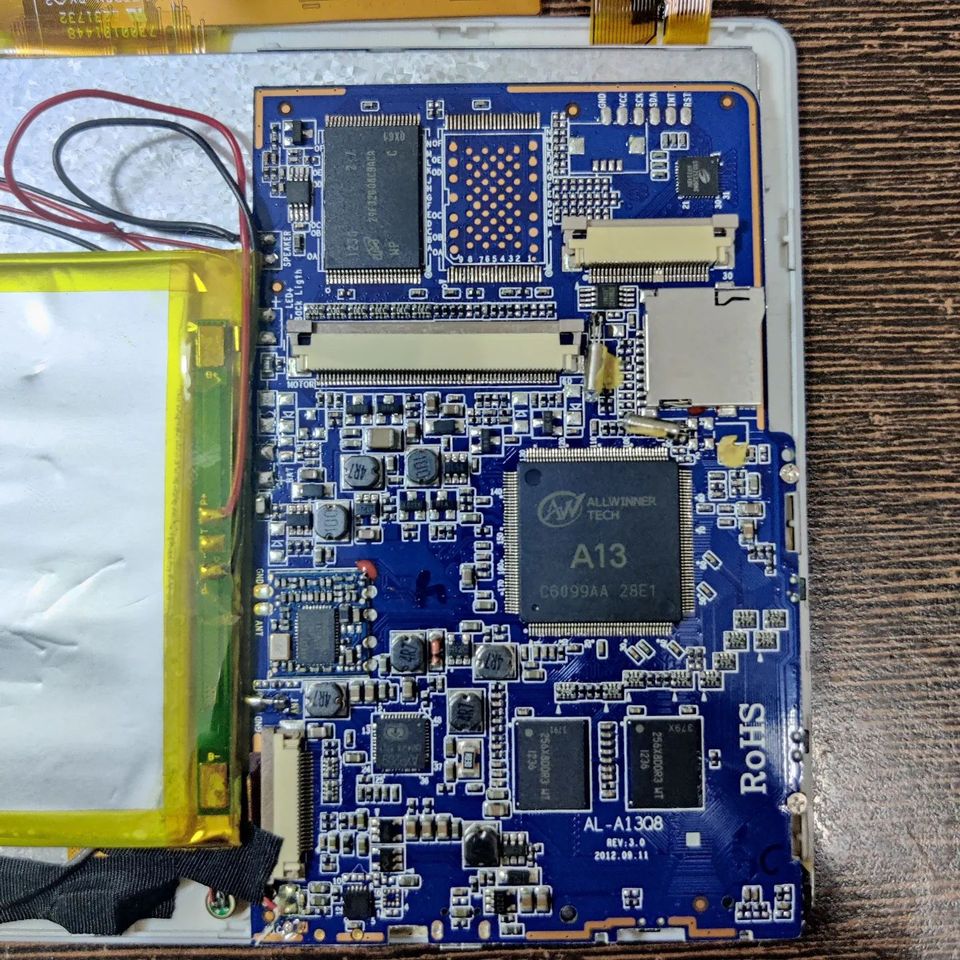
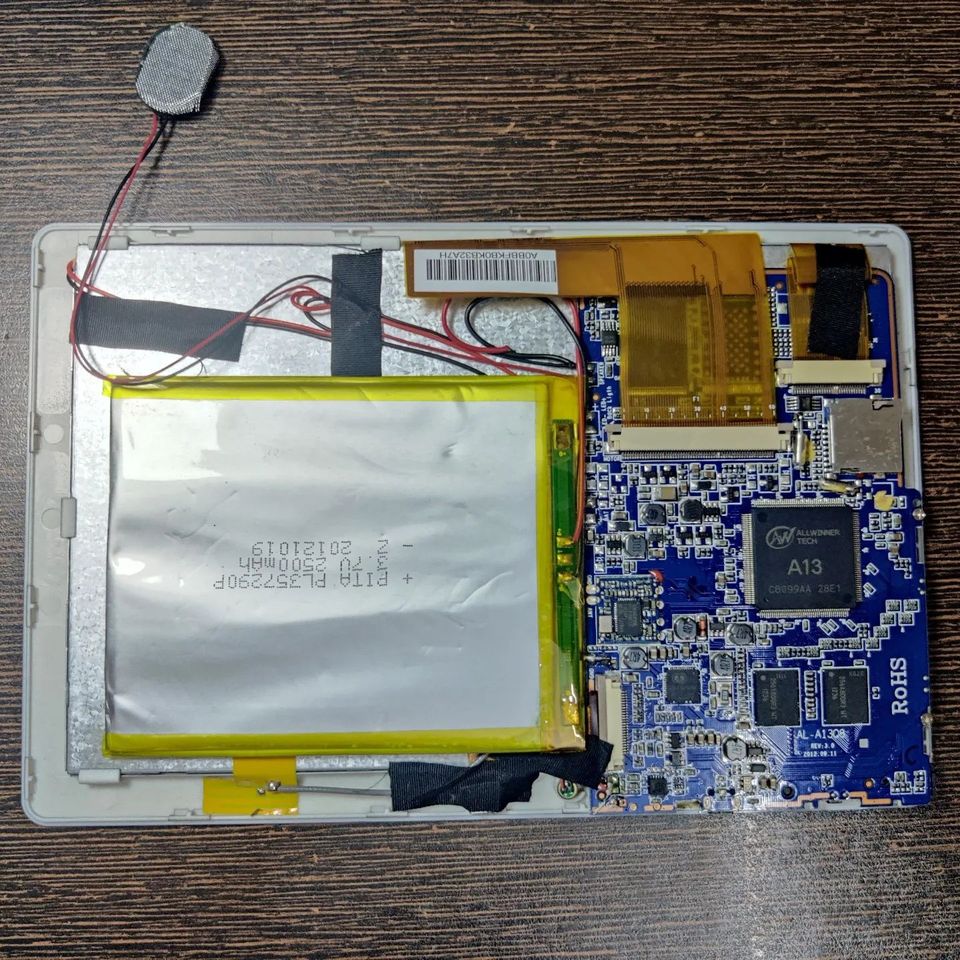
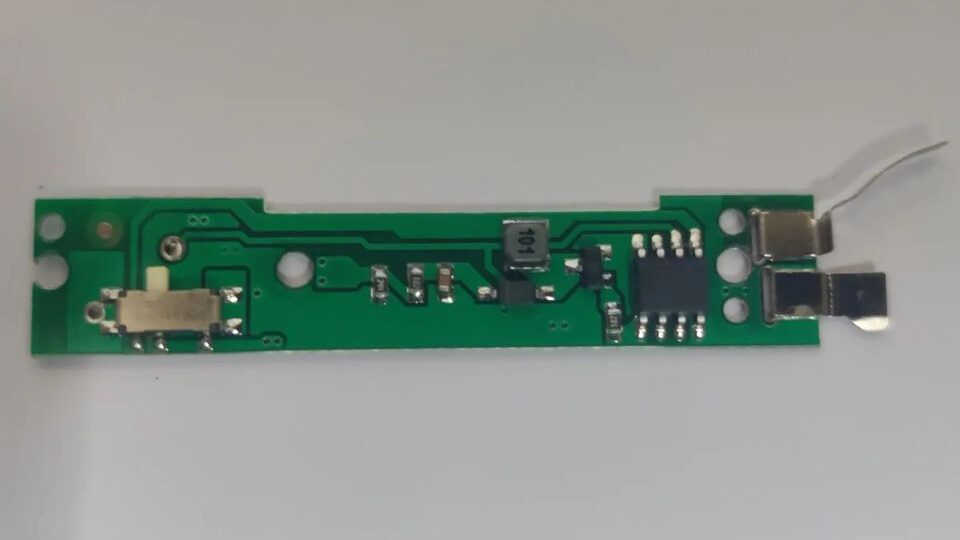
The PCB looks straightforward. It runs on a 3V CR2025 battery and has a delete button. When pressed, the battery powers on a single custom ASIC which I believe will put out up higher voltage with a transistor inductor circuit to drive 2 sheets Sheets are spot welded to the PCB pads with a conductive mesh. You also get a button which disables the battery which makes the screen “erase-proof”.
Started reading more about this tech and found that it was first developed by Kent displays back in 2010. The 2 sheets contain a fluid similar to the one found in LCDs called cholesteric liquid crystal display(ChLCD). In layman’s terms, I believe when pressure is applied to it with a stylus, it loses its orientation and becomes opaque which causes light falling on it to reflect back and you are able to see the line. When electricity passes through it, it reorients back and becomes transparent and no reflection happens as it’s coated on the back with a black sheet. Hence we do not need any power to write to it, only need it to erase it. It’s dirt cheap($2-$3) with so many clones out there. Worth having one around on your desk.