Direct to Mobile: Streaming Videos Without Internet

Last month there was a conclave at IIT Kanpur with Prasar Bharati which might have set the ground rules for one of the interesting tech that could come into the Indian market in the future. It’s Direct to Mobile(D2M) wherein video data can be pushed directly to mobiles without WiFi or Mobile data. This enables the Prasar Bharati(PB) to deliver content to anyone with a mobile potentially free of cost for govt content like broadcasting of infos of national importance. I guess an eventual model will be to charge private players slots to stream their OTT services to a large population when a critical limit is reached. The frequency band of 526-582 MHz is entirely being earmarked by the Govt just for D2M and TV broadcast. Since its a dedicated link in the video buffering issues won’t be there.

The white paper released on this doesn’t go much into the details of the technology used. The tech seems to piggyback on ATSC 3.0(called NextGen TV) standards. Seems that this was field trialled in South Korea in the 2017 Olympics. In a PoC demo at the event, they showed streaming services with an SDR NextGen chip with a USB dongle antenna hardware plugged into a mobile phone antenna with a WiFi gateway. Saankhya Labs is providing the hardware for it with their Broadcast Radio Head (BRH) solution. They seem to have a small live rollout in Bangalore.

So OK what does it mean for you and me? If there is a govt push towards this tech, I think we might see mobile manufacturers putting up a new chip on your phone to enable this streaming option. But I would say it will take quite a bit of time before that happens. All of this doesn’t mean that you don’t need mobile towers/similar to make this data reach your phone, it’s just it will use multiple lower power transmitters to deliver this from the backend. That infrastructure would also need to be upgraded. So there are a lot of hurdles ahead but technology is promising and too soon give a verdict on it.

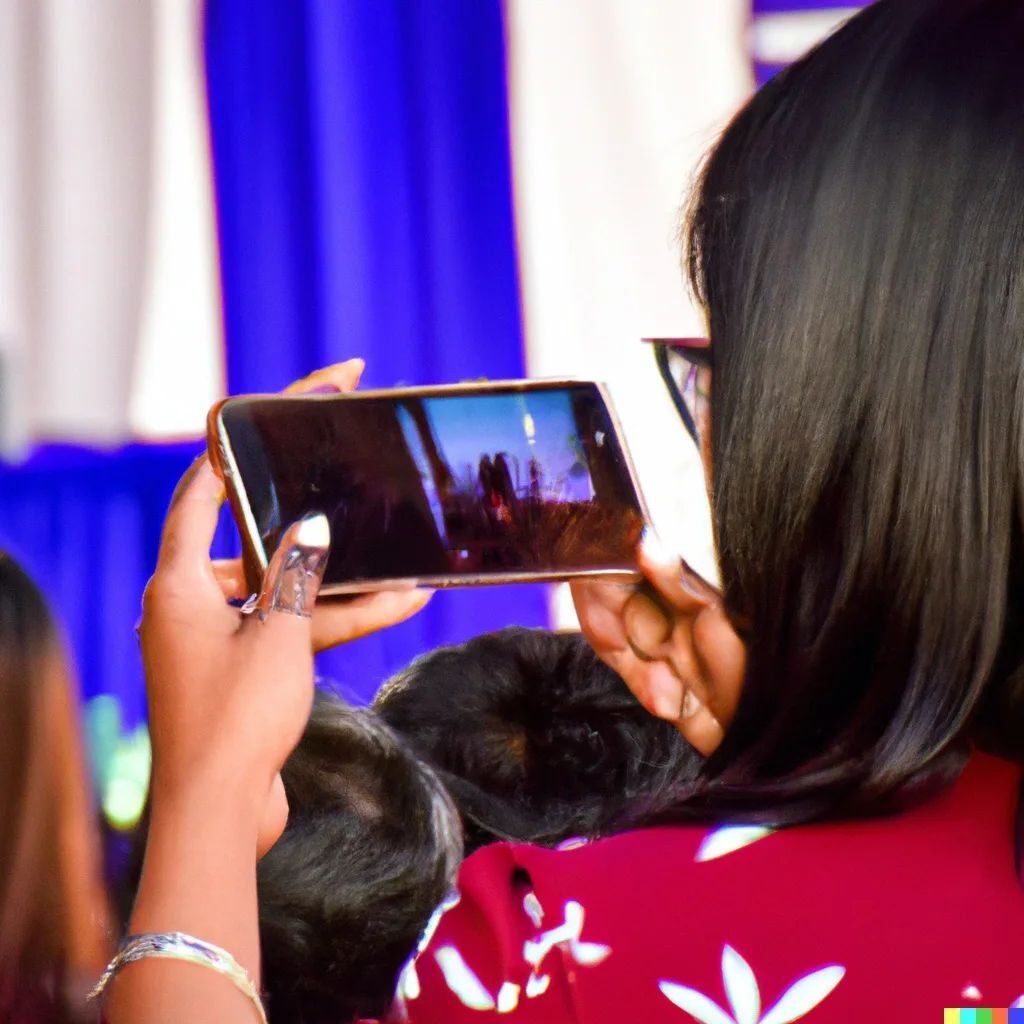
PS: The image of this post was entirely simulated and generated real time by AI from DALL-E. That picture doesn’t exist. More on that later.
If you liked the post, Share it with your friends!

Temperature of Light and White Balancing

LED Temperature

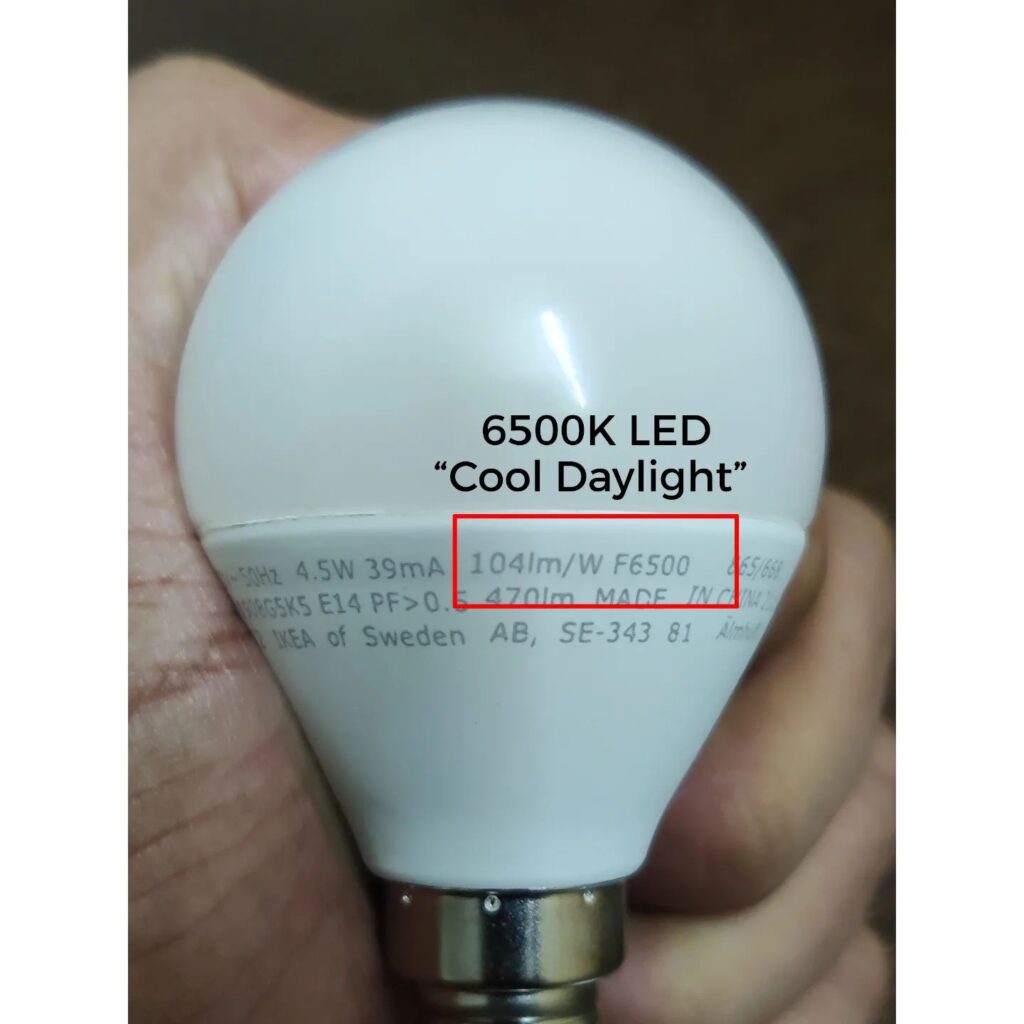
I am sure most folks when they are picking out what LED bulbs, usually buy LEDs by colour and go via marketing jargons like Warm White, Cool Day, Warm Yellow etc. These terms usually represent the output colour of your LEDs. Some of you would know that there is a standard way to represent them in terms of colour temperature with units in Kelvin(These would be mentioned on your bulbs). Let’s explore what those are today.

LED Temperature White Balancing

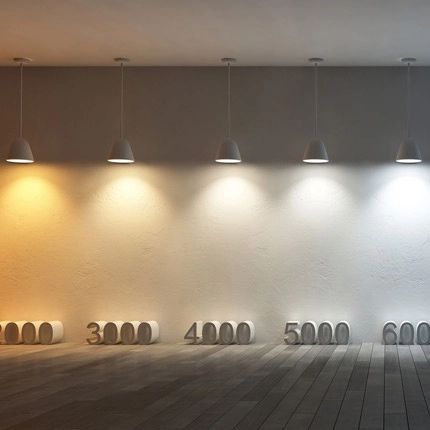
The temperature of colour is a weird way to represent information. Colour has no “heat”. So why use temperature as a measurement unit for it? It all goes back to a concept known as a black body radiator. In simple terms, it’s a theoretical material which emits radiation(aka light) when heated to different high temperatures. For example, think of a metal(which is a somewhat close real-life black body), when it’s heated to say 1500K has a particular glow in the red/orange range. Now when you start increasing the temperature of this material, the colour slowly starts to change white(Bluish tinge). So hence temperature Kelvin is used in relation to the colour of light. The temperature range can go from 1500K – 10,000K+. 1700K range corresponds to candle-flame-orange light & 6500K is clear sunlight on a bright day. So you have a huge range of LEDs to choose from based on what you want.

Temperature and White Balancing

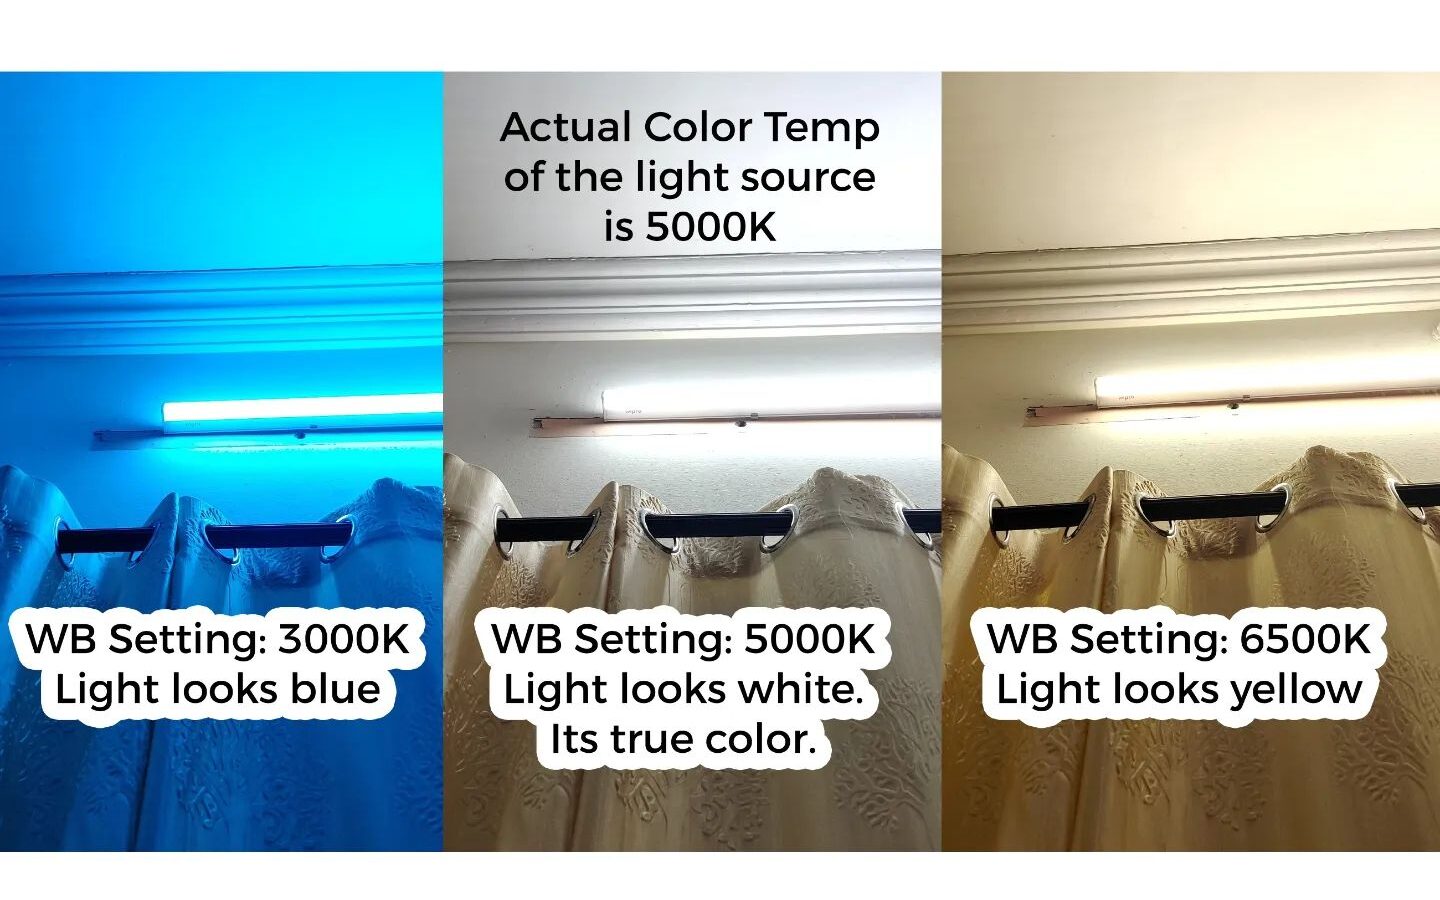
Now let’s come to photography of this light. Where it’s all relative to your settings. Open your mobile camera and go to the manual mode in your camera you will see there is something known as White Balance on the settings, This is also measured in Kelvin. This setting is telling your camera sensor what pure white light is. Let’s say you put the WB setting on the camera as 5000K and take a photo of an object. So any light source in your scene with a colour temp of 5000K will appear white on your image whereas any light source lesser than that will appear Yellow and anything above will appear bluish. It’s as simple as that. Now if slide up your white balance to say 6500K setting you will see more things looking yellow (if the scene lighting is at say 5000K). Knowing this concept will help you take killer pics and set the lighting mood for your camera. Take a look at the picture for seeing how an image will come out for the same lighting scene shot with different WB settings.

If you liked the post, Share it with your friends!
1 38 39 40 41 42 76