I was recently discussing with a friend regarding a reliability testing project. We were discussing specifics on MIL-STD-810 and I wanted to discuss regarding that today.
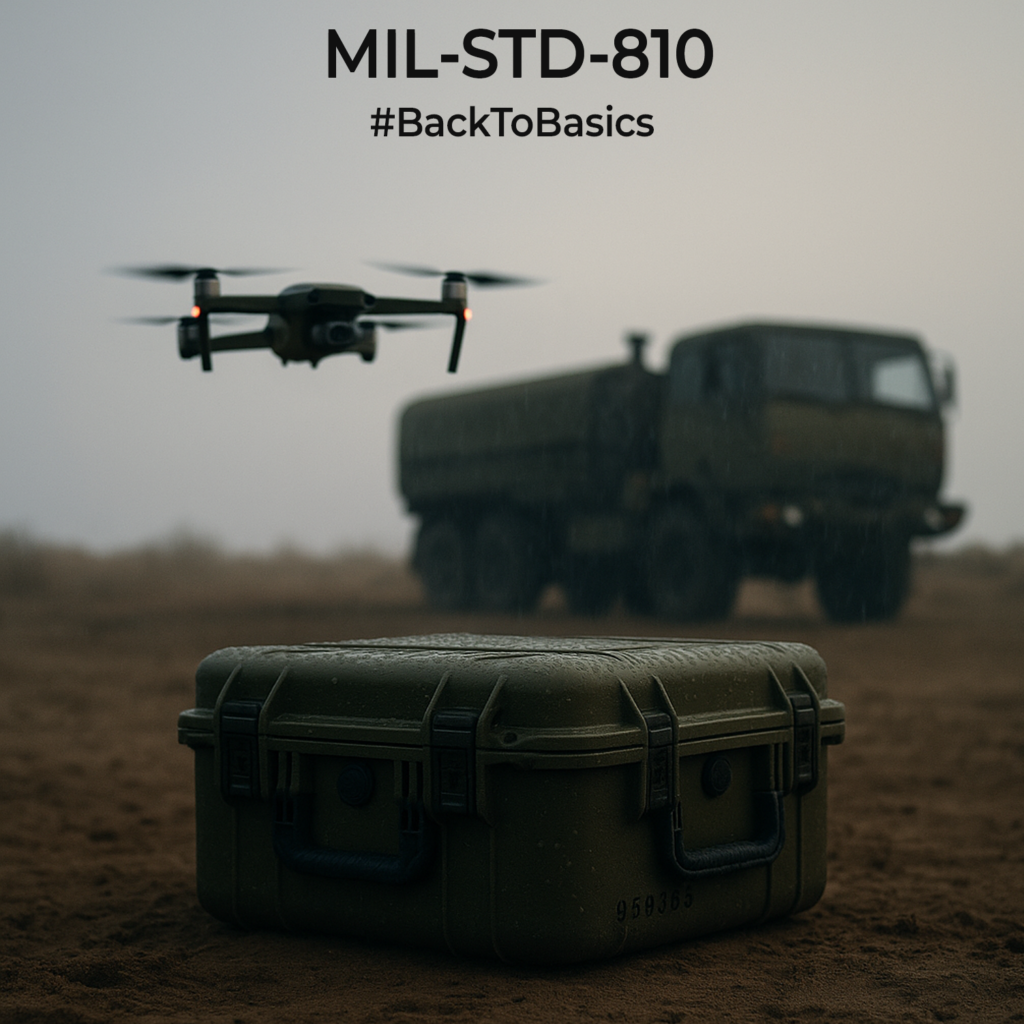
MIL-STD-810 is the U.S. Department of Defence’s guide for engineering and validating hardware to survive real environments. It was launched in the 1960s, but the document has kept evolving. Its mainly about making your hardware survive dust, heat, rain, altitude, vibration etc and exposing weak designs. It is not just for defence products, if you build drones, outdoor electronics, field medical gear, or rugged laptops, you will meet these same parameters.
Inside the document there are three big parts. Part One explains how to build a life cycle environmental profile and how to sequence tests to simulate real life. Part Two is a bunch of laboratory methods with setups and procedures for temperature, humidity, rain, dust, fog, solar, icing, vibration, shock, and combined environments. Part Three provides climate data, so your test levels are realistic, instead of guessing.
Beyond that, it discusses how to choose test levels, set up the product, add simple sensors, and record results. You’ll see advice on test order, running tests together, packaging checks, mold exposure and work in areas with explosive gases.
Although I wouldn’t suggest reading the 1000+ page document end to end. I think it’s imperative that you know that something like this exists for free, and you can load it up in your favourite LLM and summarize for your particular use case. Because it teaches you to think like a reliability engineer. The standard does not hand you pass or fail numbers. If you need a start on how to build a quality rugged hardware, start here and fine tune it to your needs.
BTW, there is no “MIL-STD-810 certification”. The correct phrasing is tested in accordance with MIL Standard 810. Tell what you tested, why those levels were chosen, and what passed because MIL-STD-810 is not a certification standard.